A year ago we were deep in the midst of a backyard makeover. Our yard needed a lot of updating and fixing and the results were amazing! It took a couple months of a lot of hard work, but we are so proud. At the time we finished it last year, I didn’t have a blog. Once I started the blog I wanted to post, but decided to wait until the spring to make it more seasonally applicable. Most of what we did has stayed the same throughout this year, but we did have some plants die in the Texas heat last summer and plan to replace those in the next few weeks.
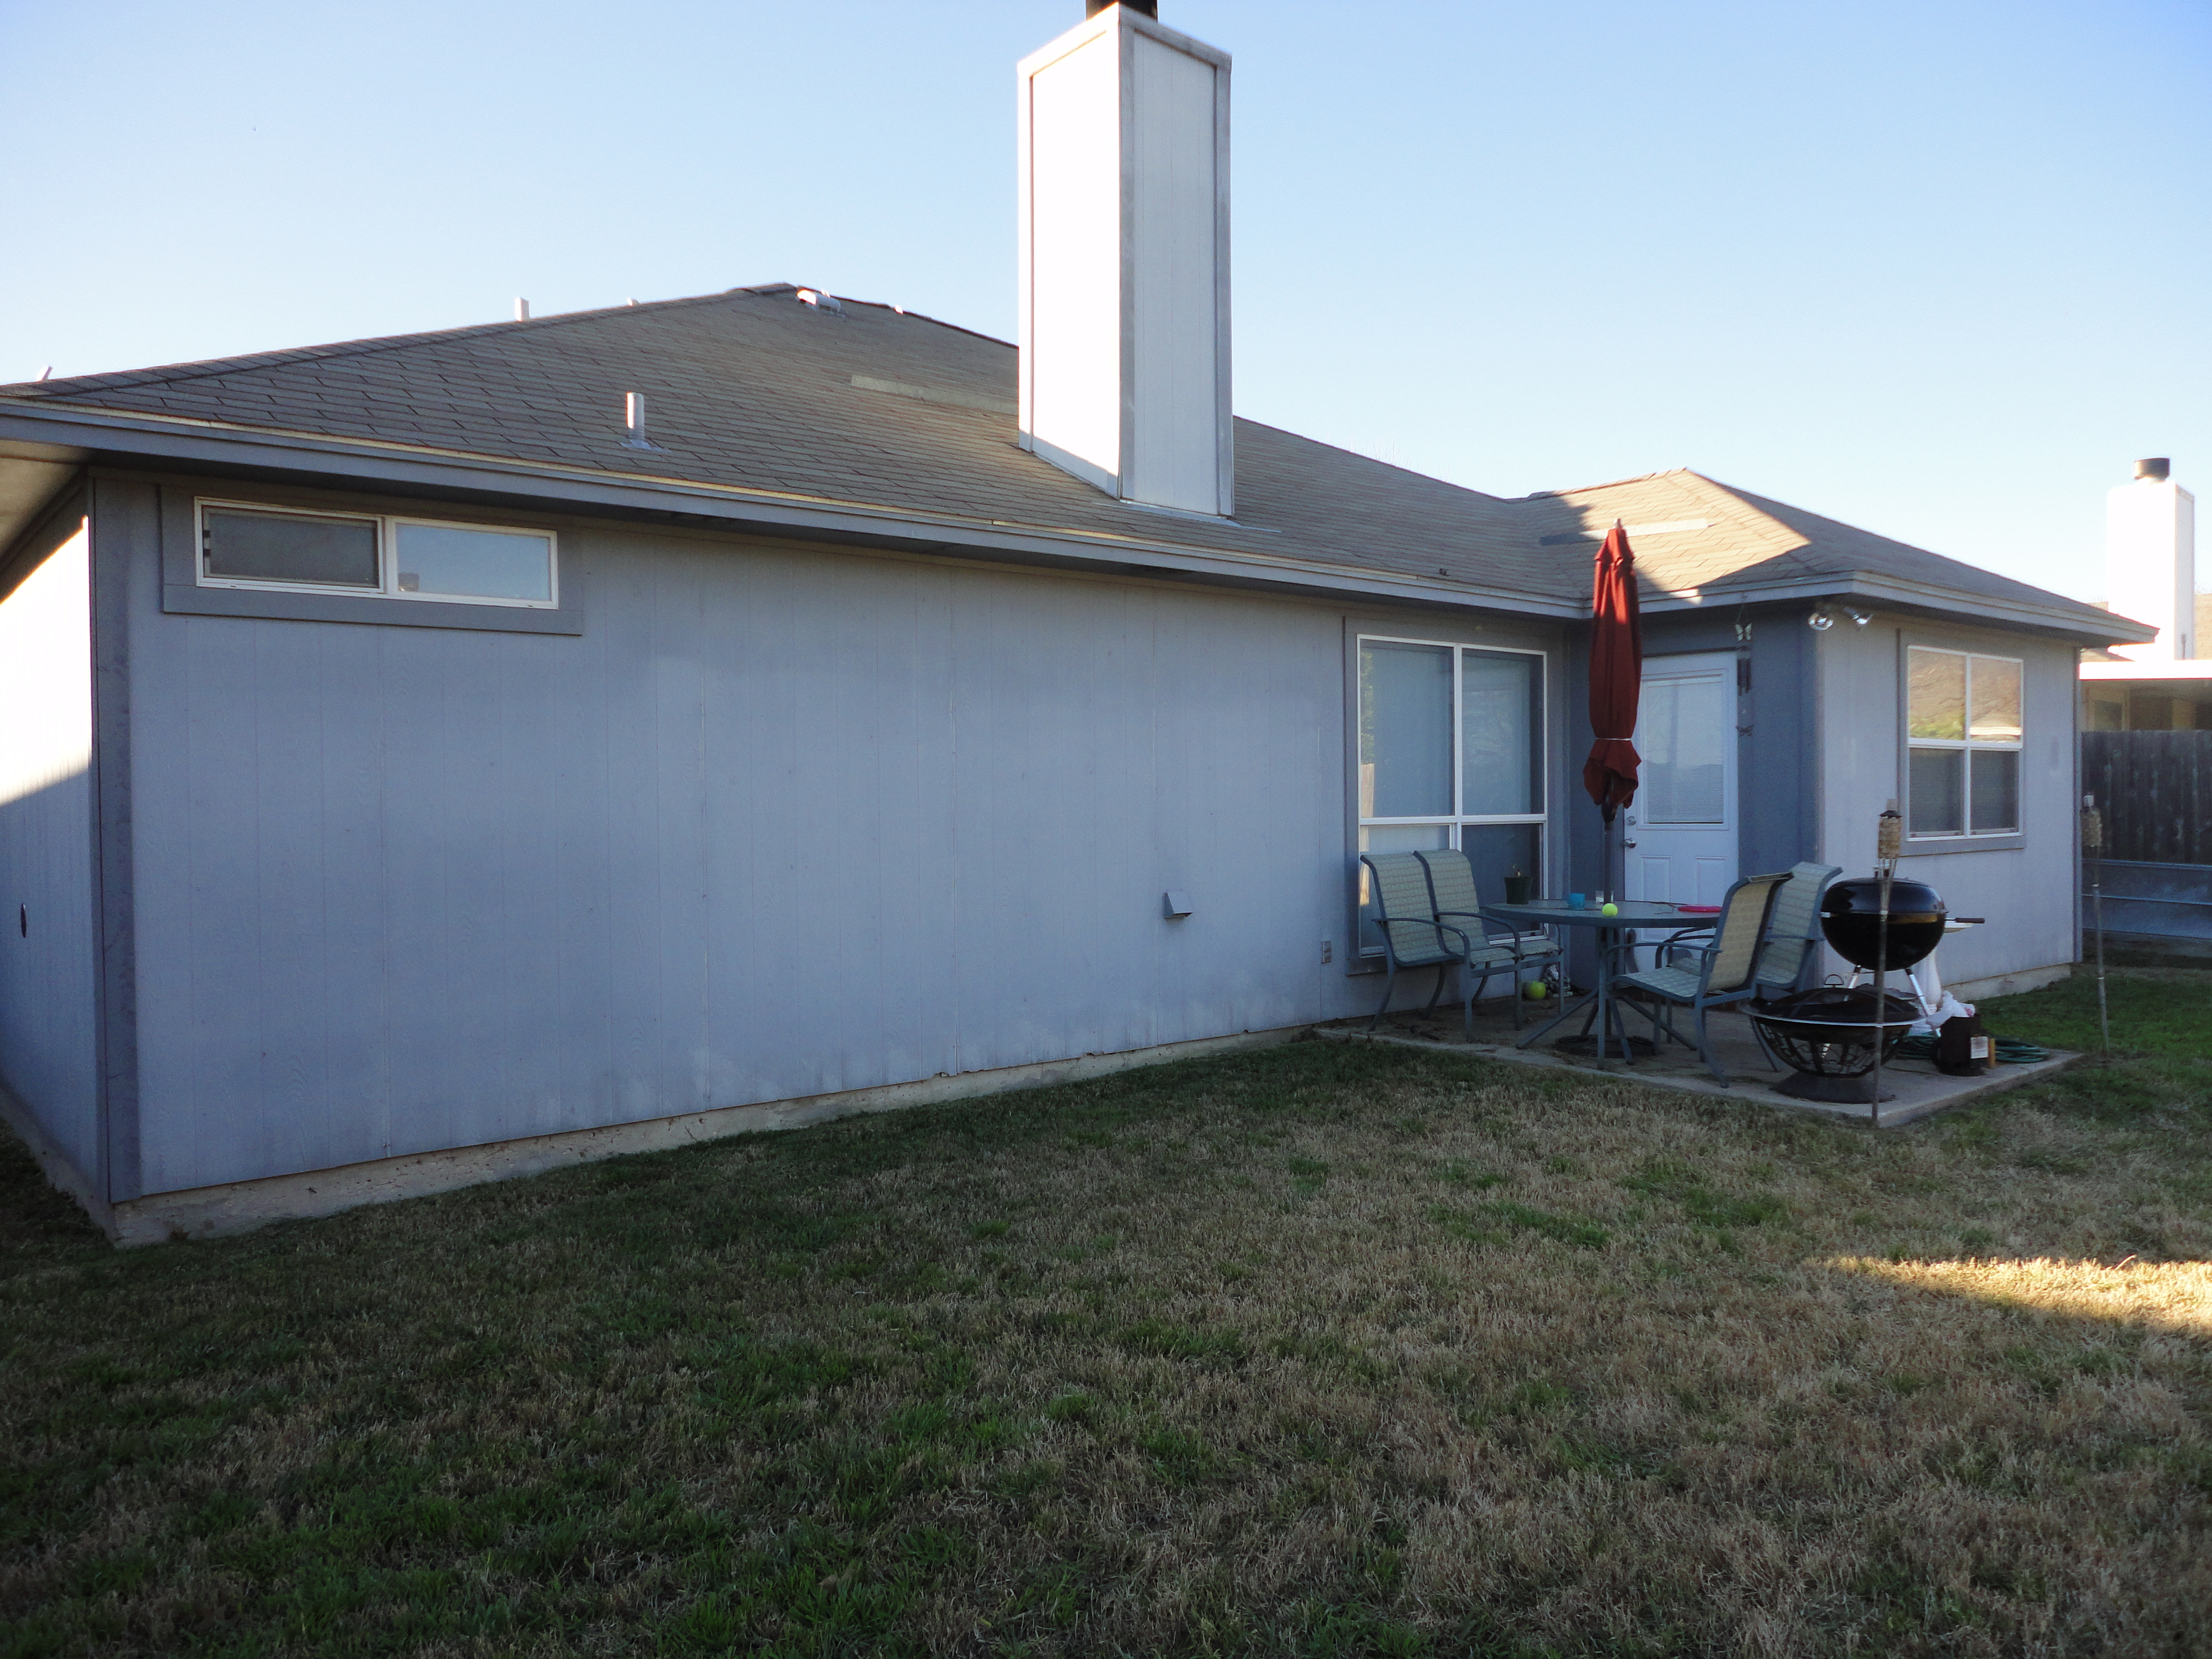
Here is what our yard and patio looked like upon moving in.
 Yuck. There wasn’t room for the table and grill and people. We tried eating out there a few times, but it didn’t work!
Something had to be done! Once we moved in, we systematically (because that’s the only way I do things…) went through each room and re-did it. It was a year before we finally finished inside and moved to the outside! We were so excited to get started and totally change things back here.
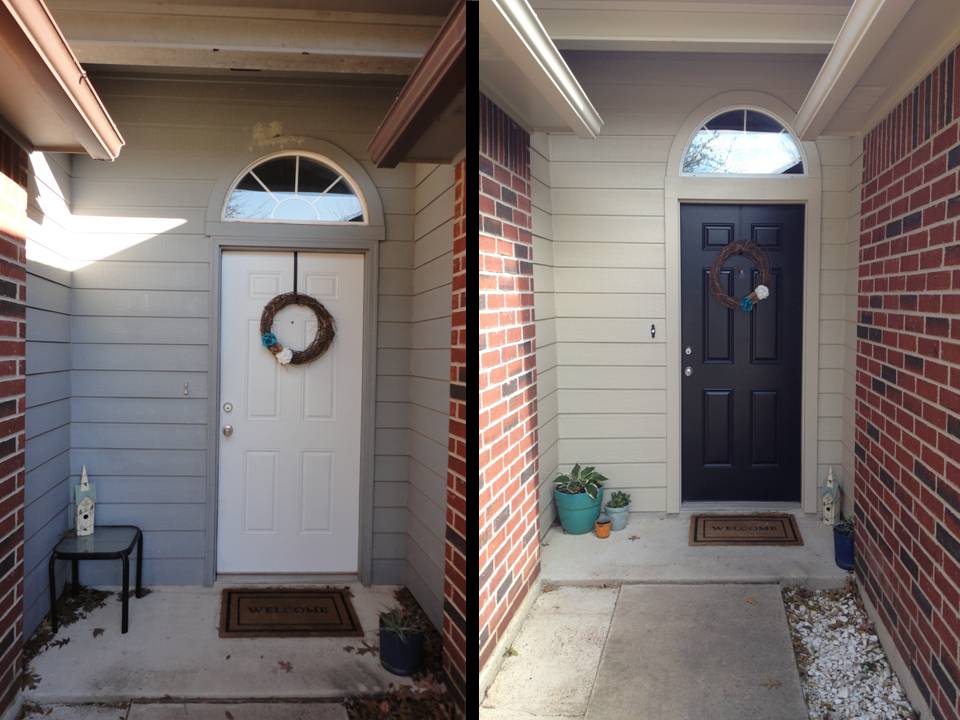
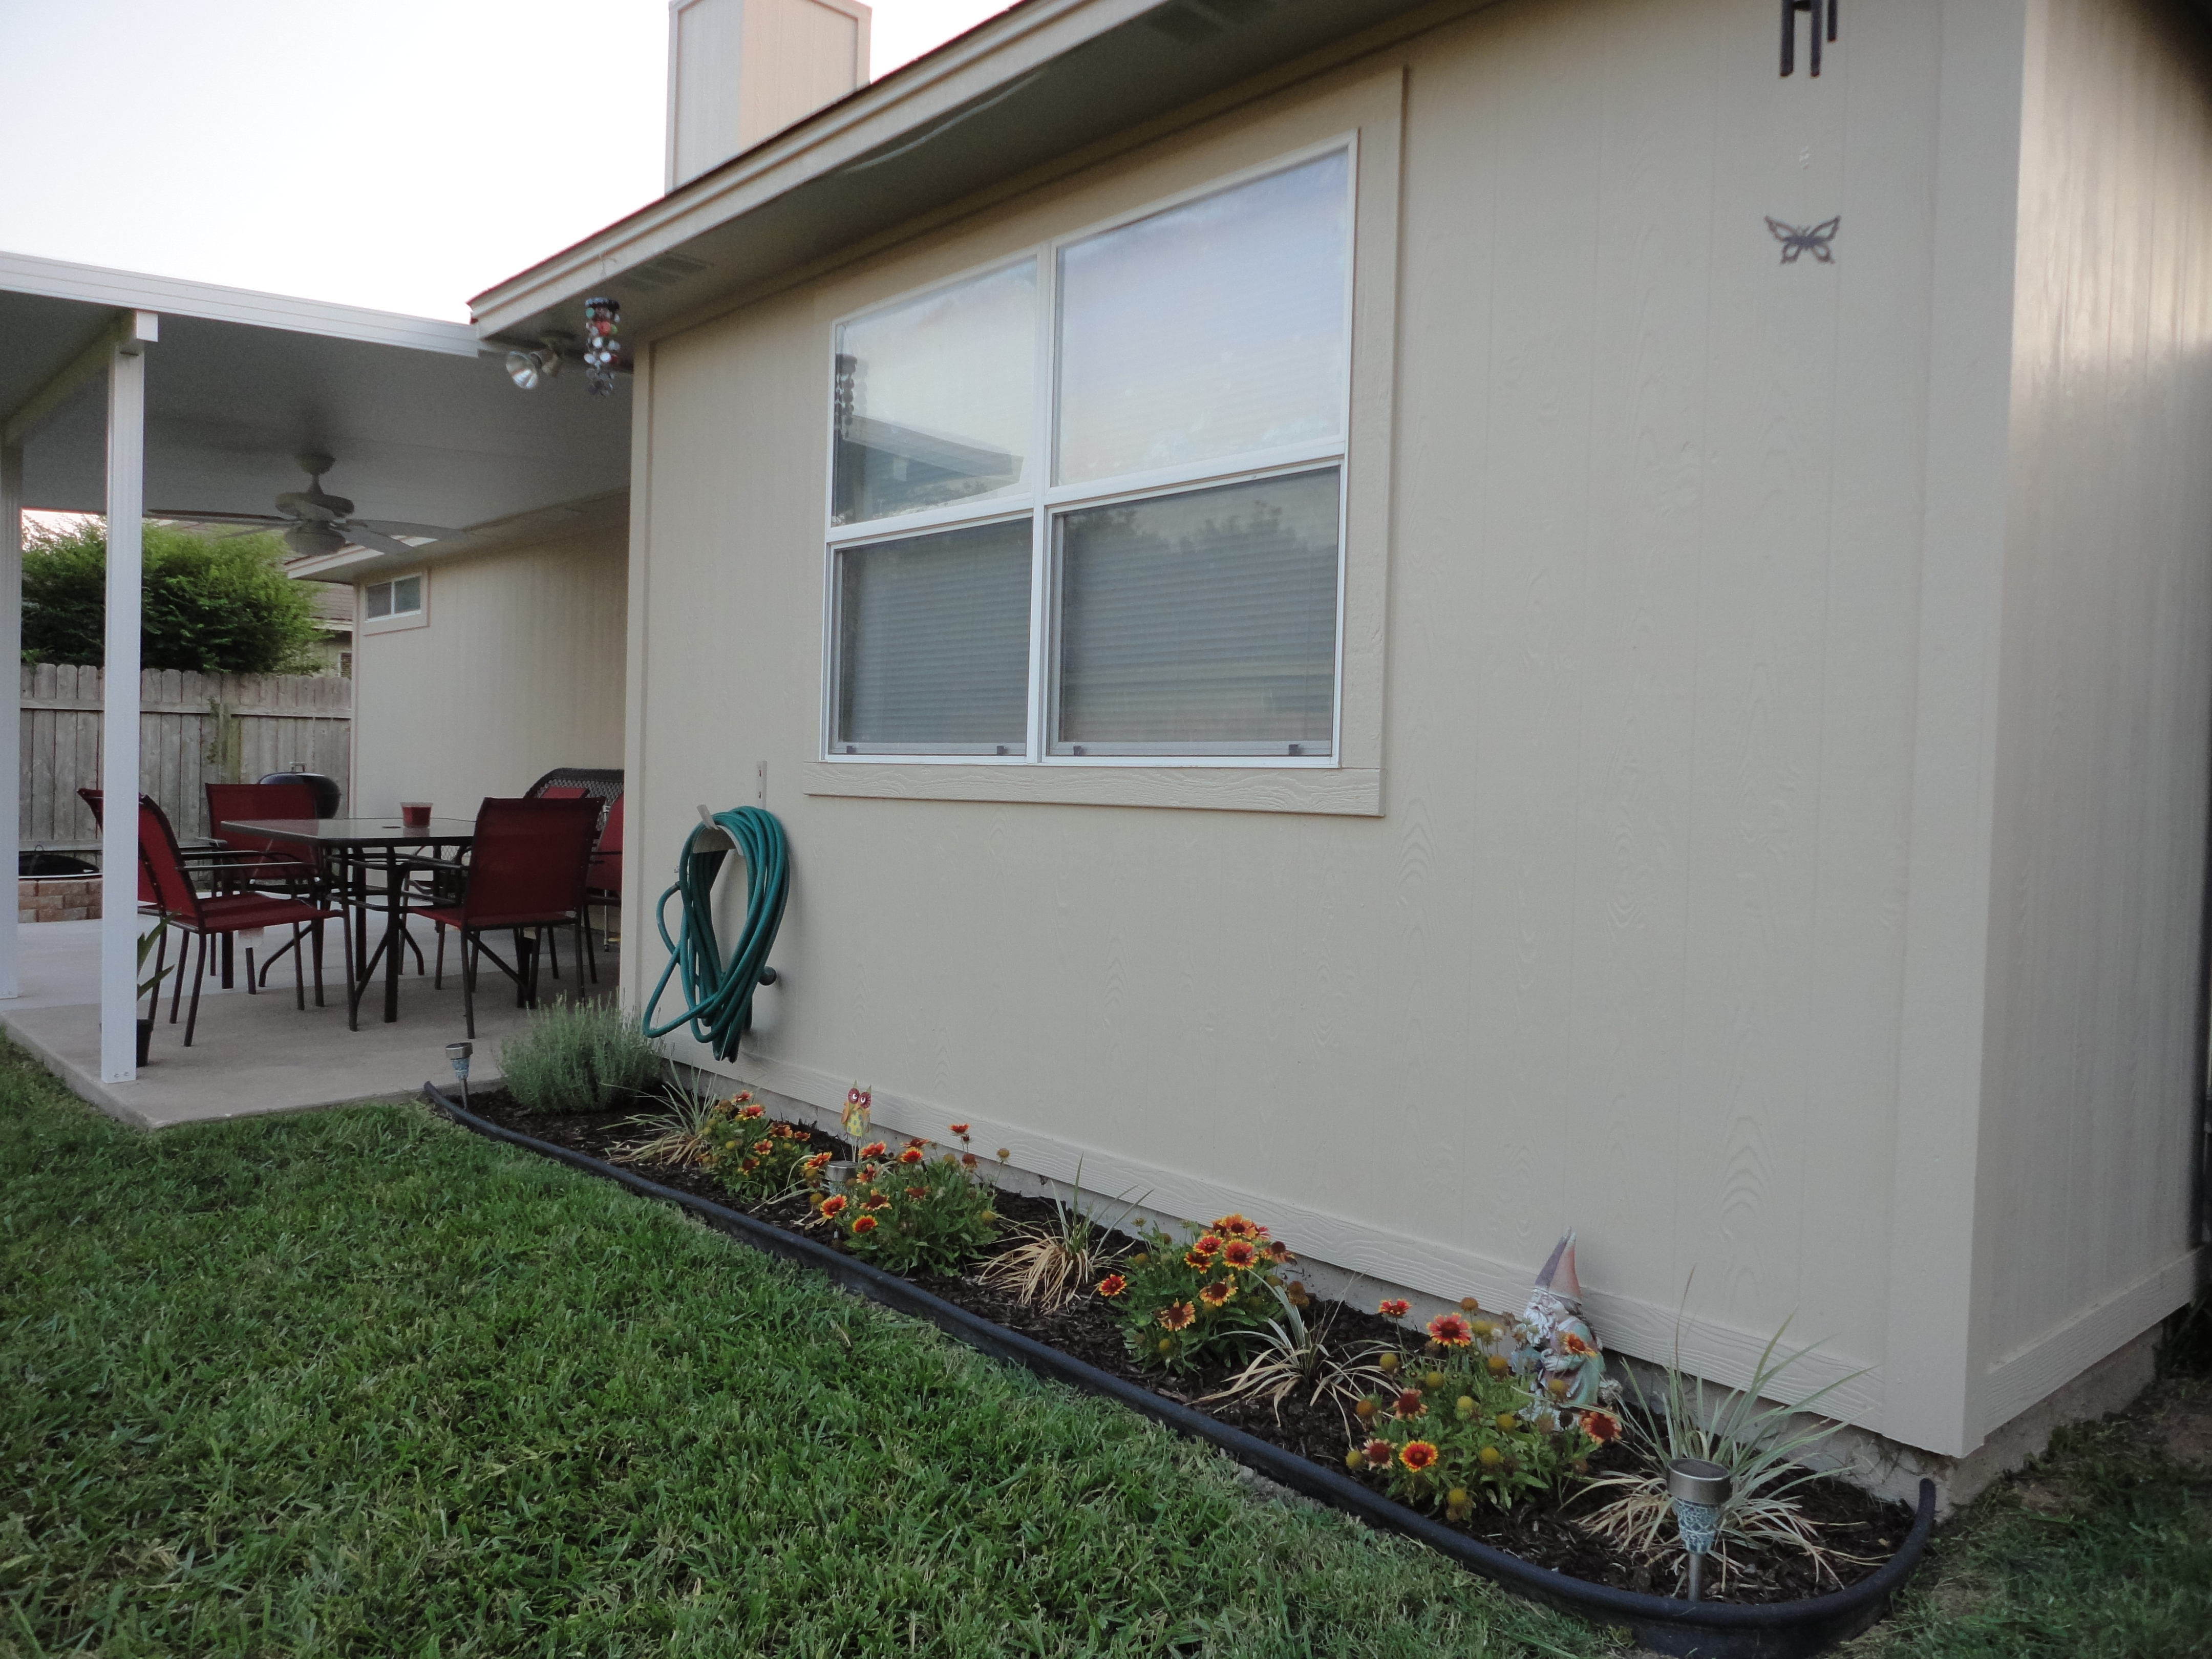
We started by painting the exterior of the house. It was in MAJOR need of a new coat of paint, and a new color. We spent all of February working on that and went from this gross, gray blue to a fresh beige. Look at the difference paint made on our front door area!! Love it. Can’t get over it.
But, I sure hope I never have to paint a house exterior again. That was HARD work.
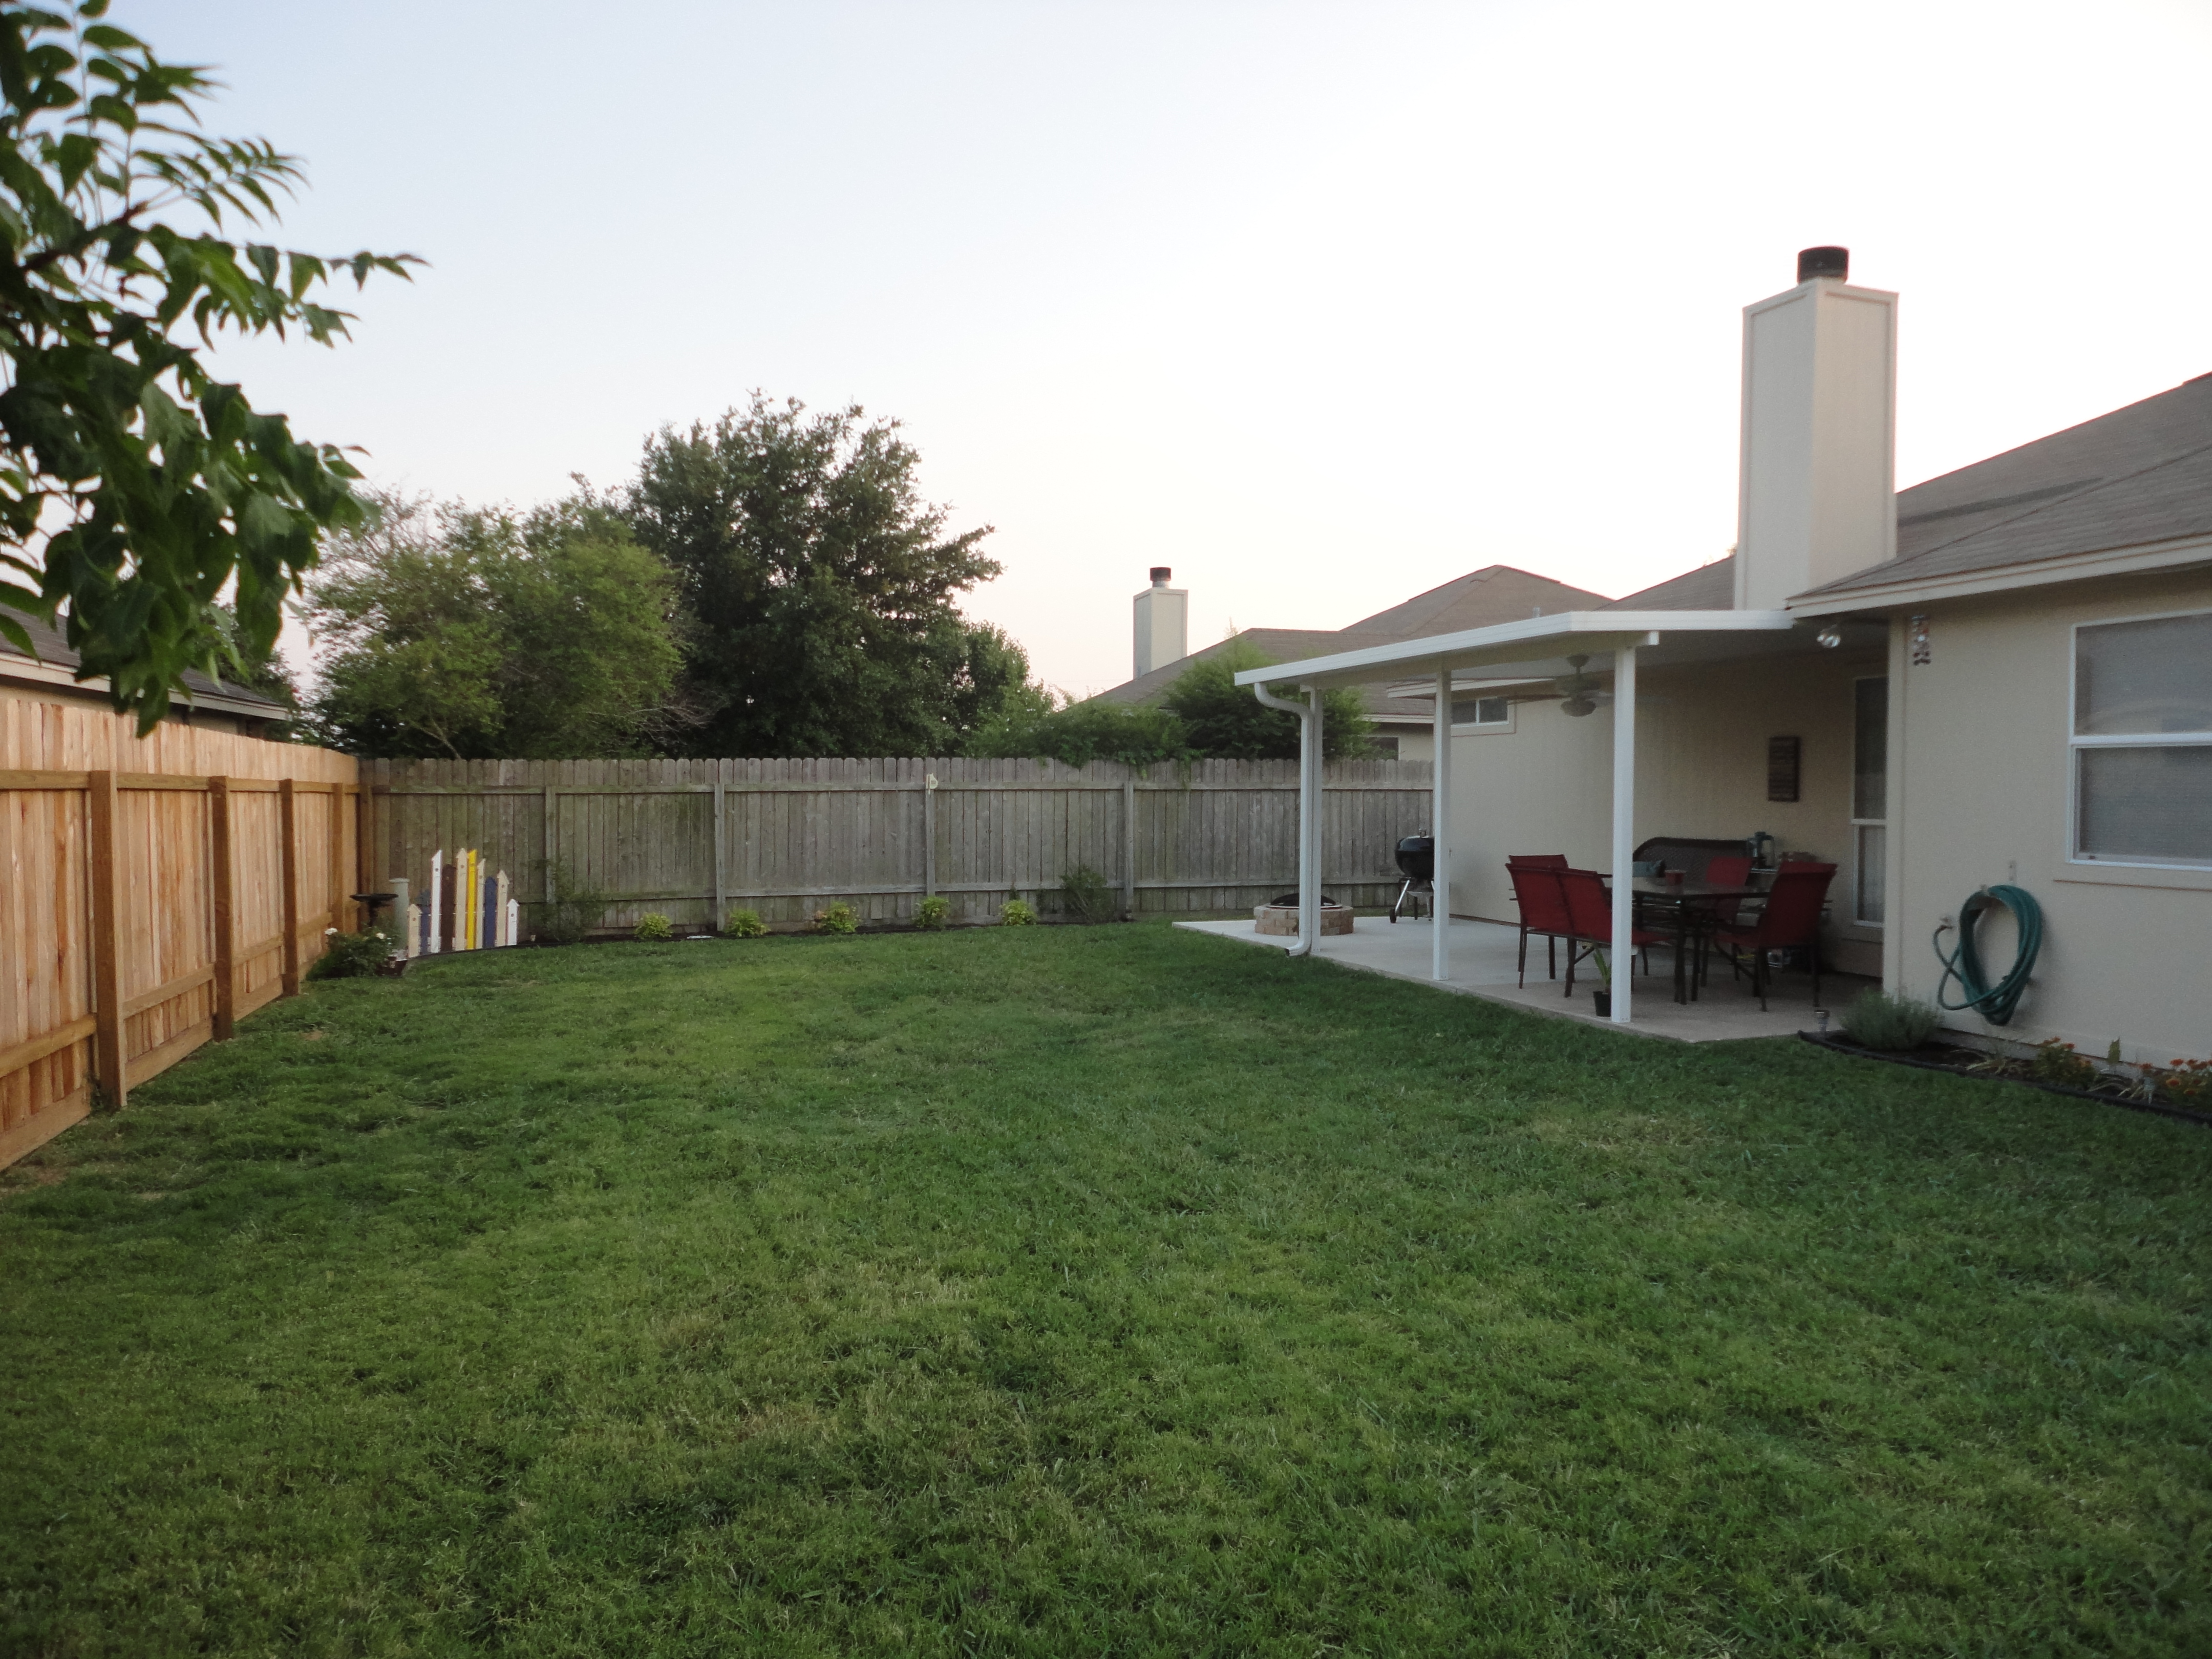
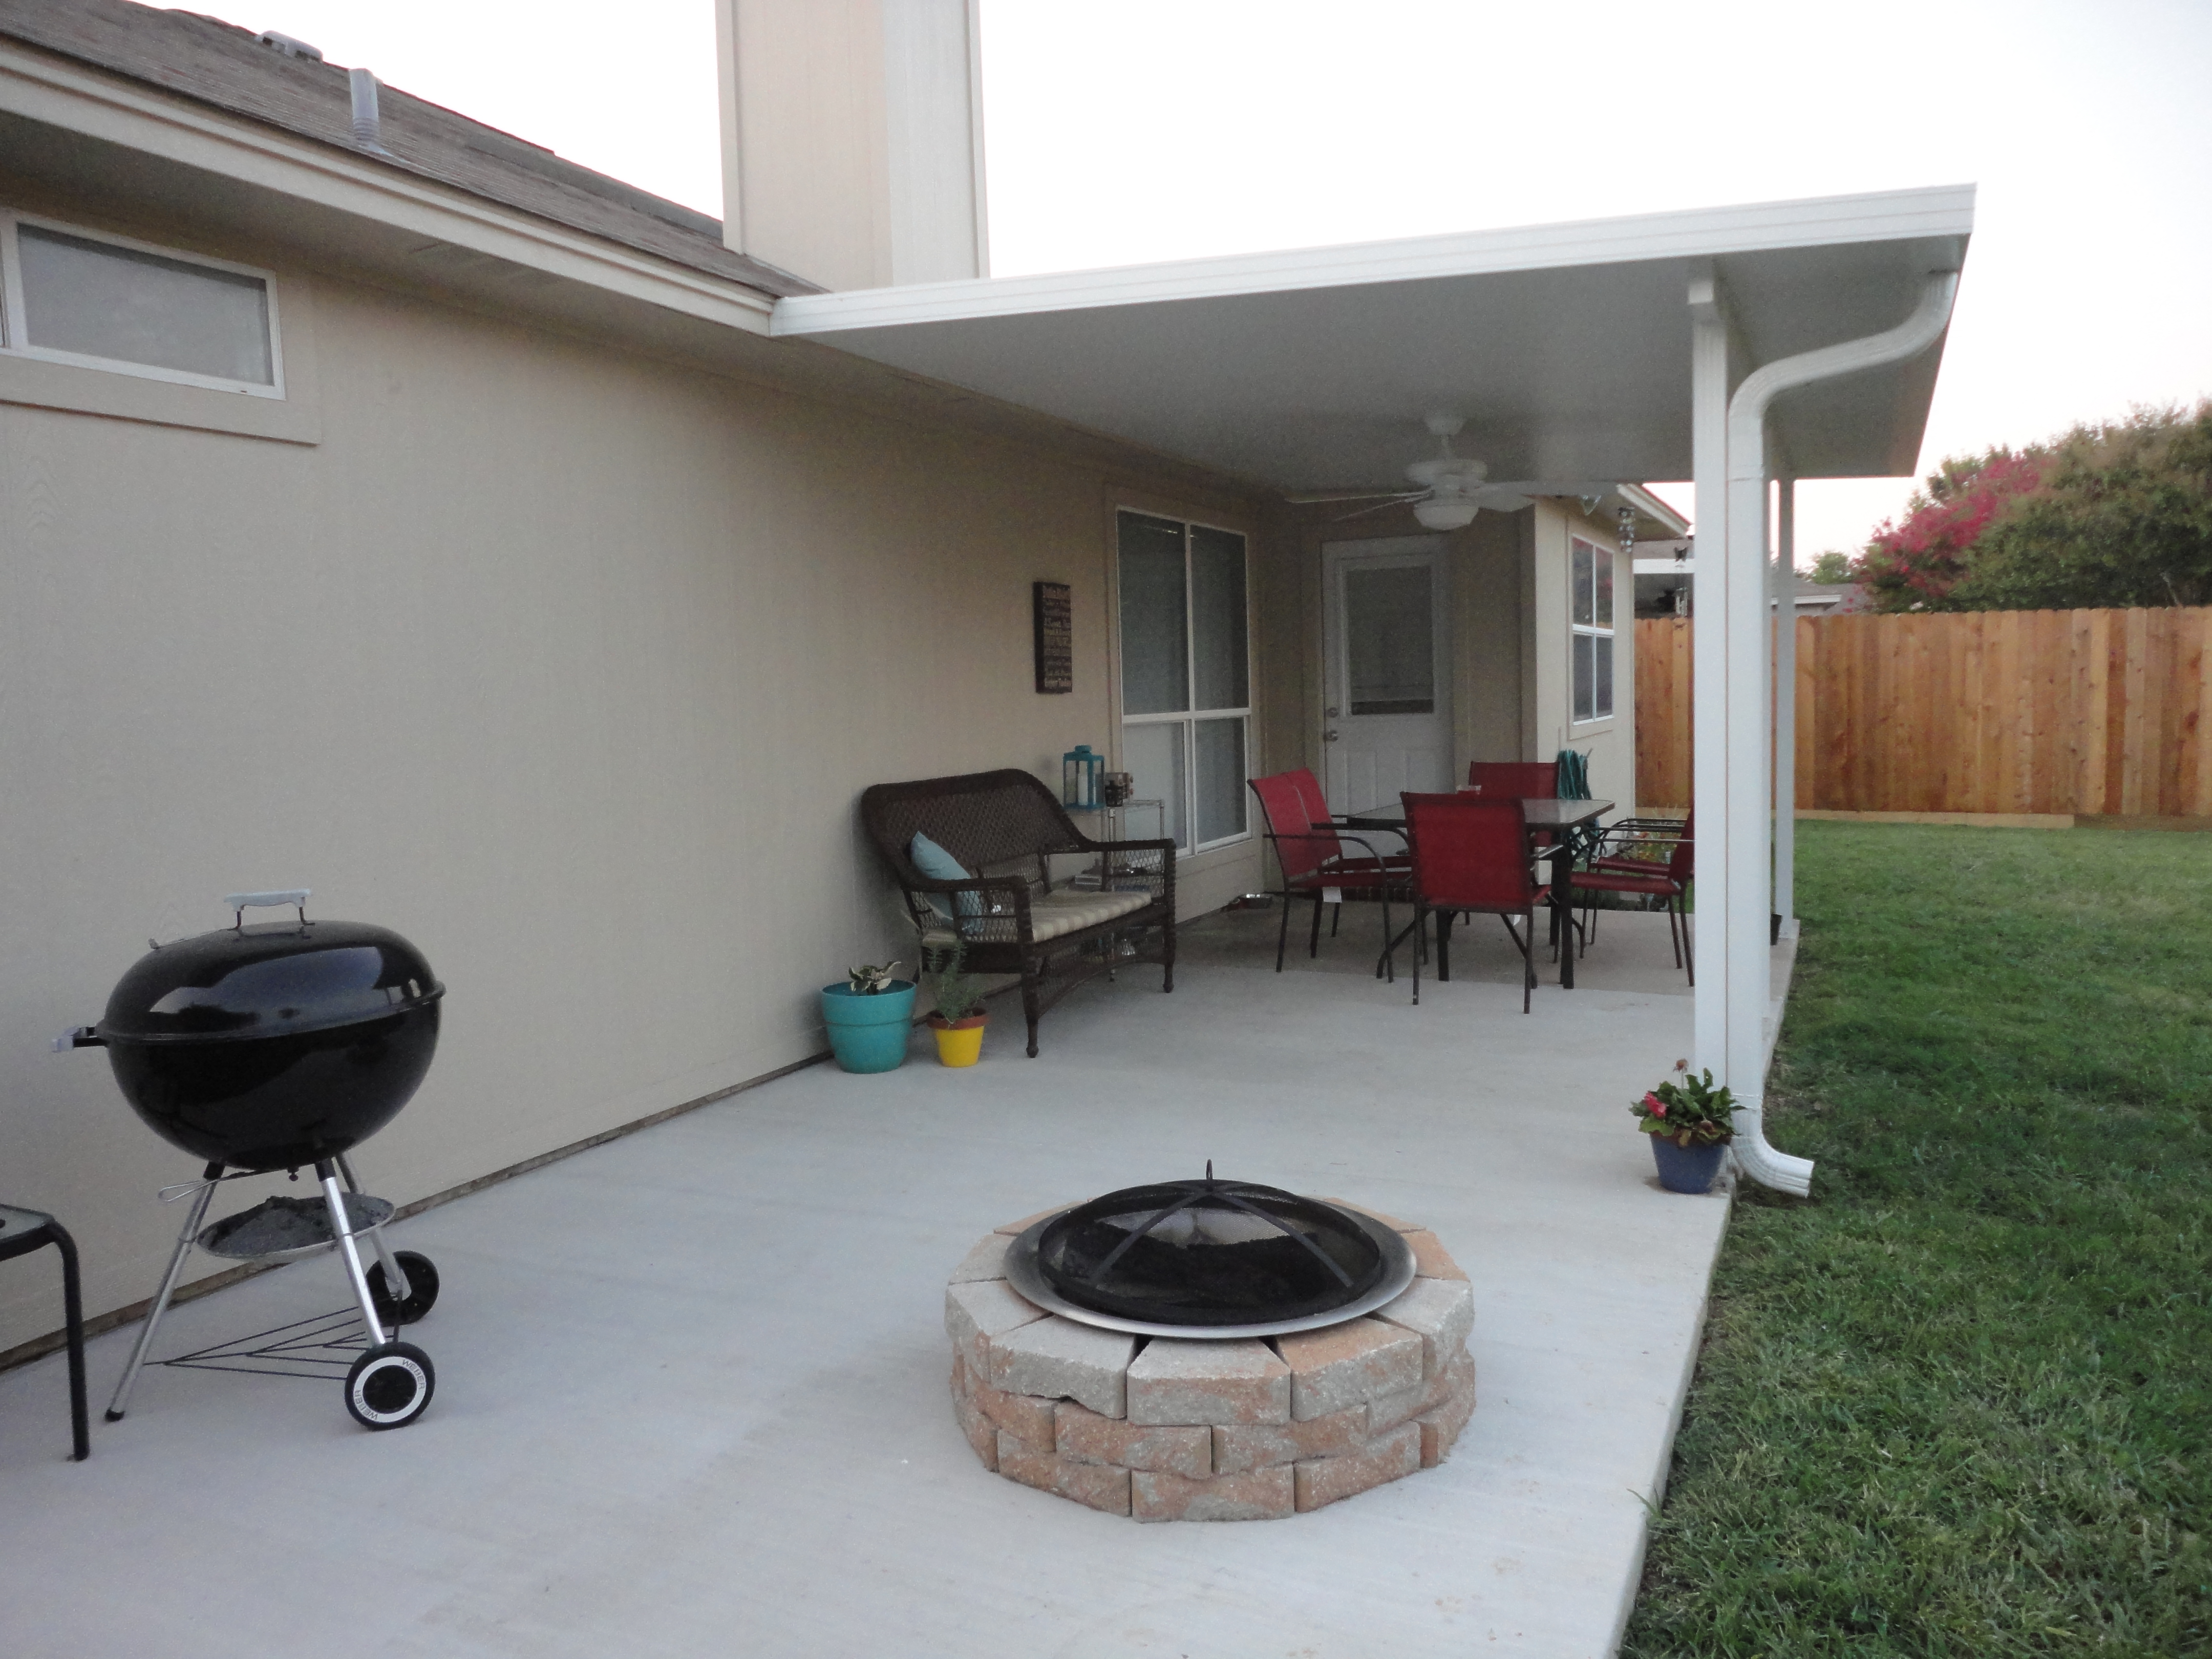
So after the paint, we had our patio extended and had a cover built over it. These were the only things that we paid someone else to do. It was just quicker, easier, and better that way.
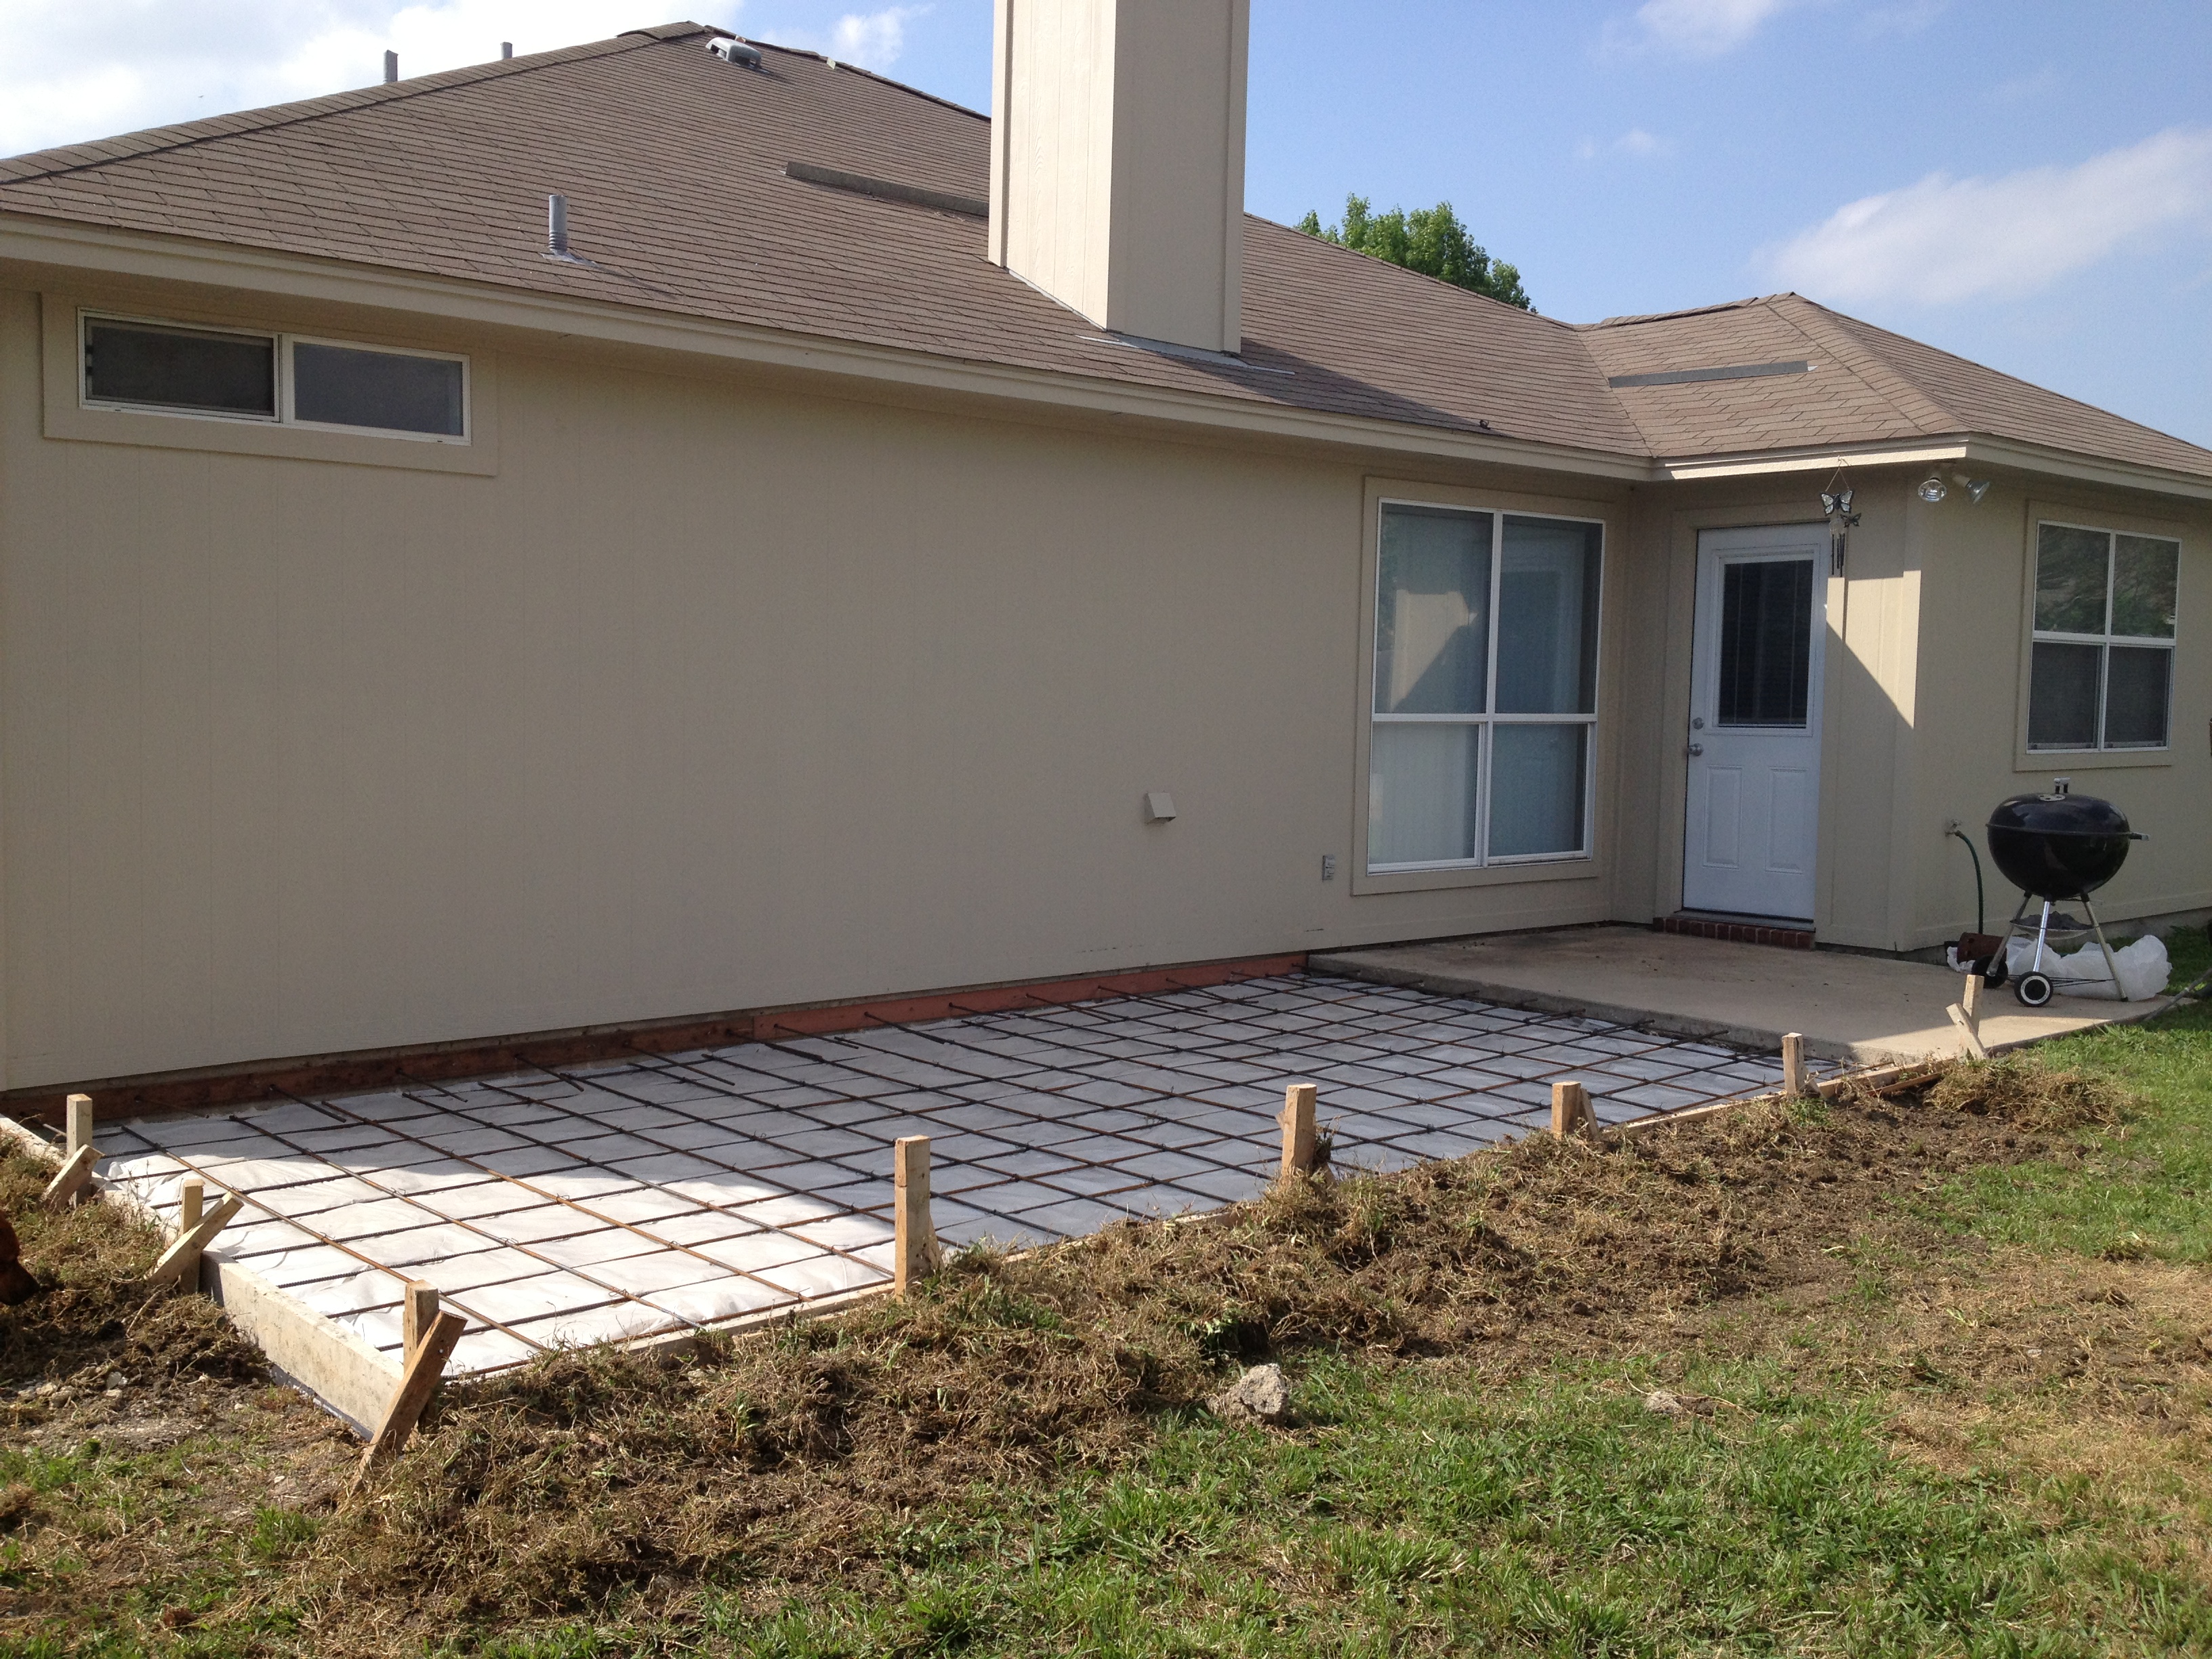
Patio being extended

Michael was home the day they poured the concrete and wrote our initials and the date, and put Oliver’s paw print in it.
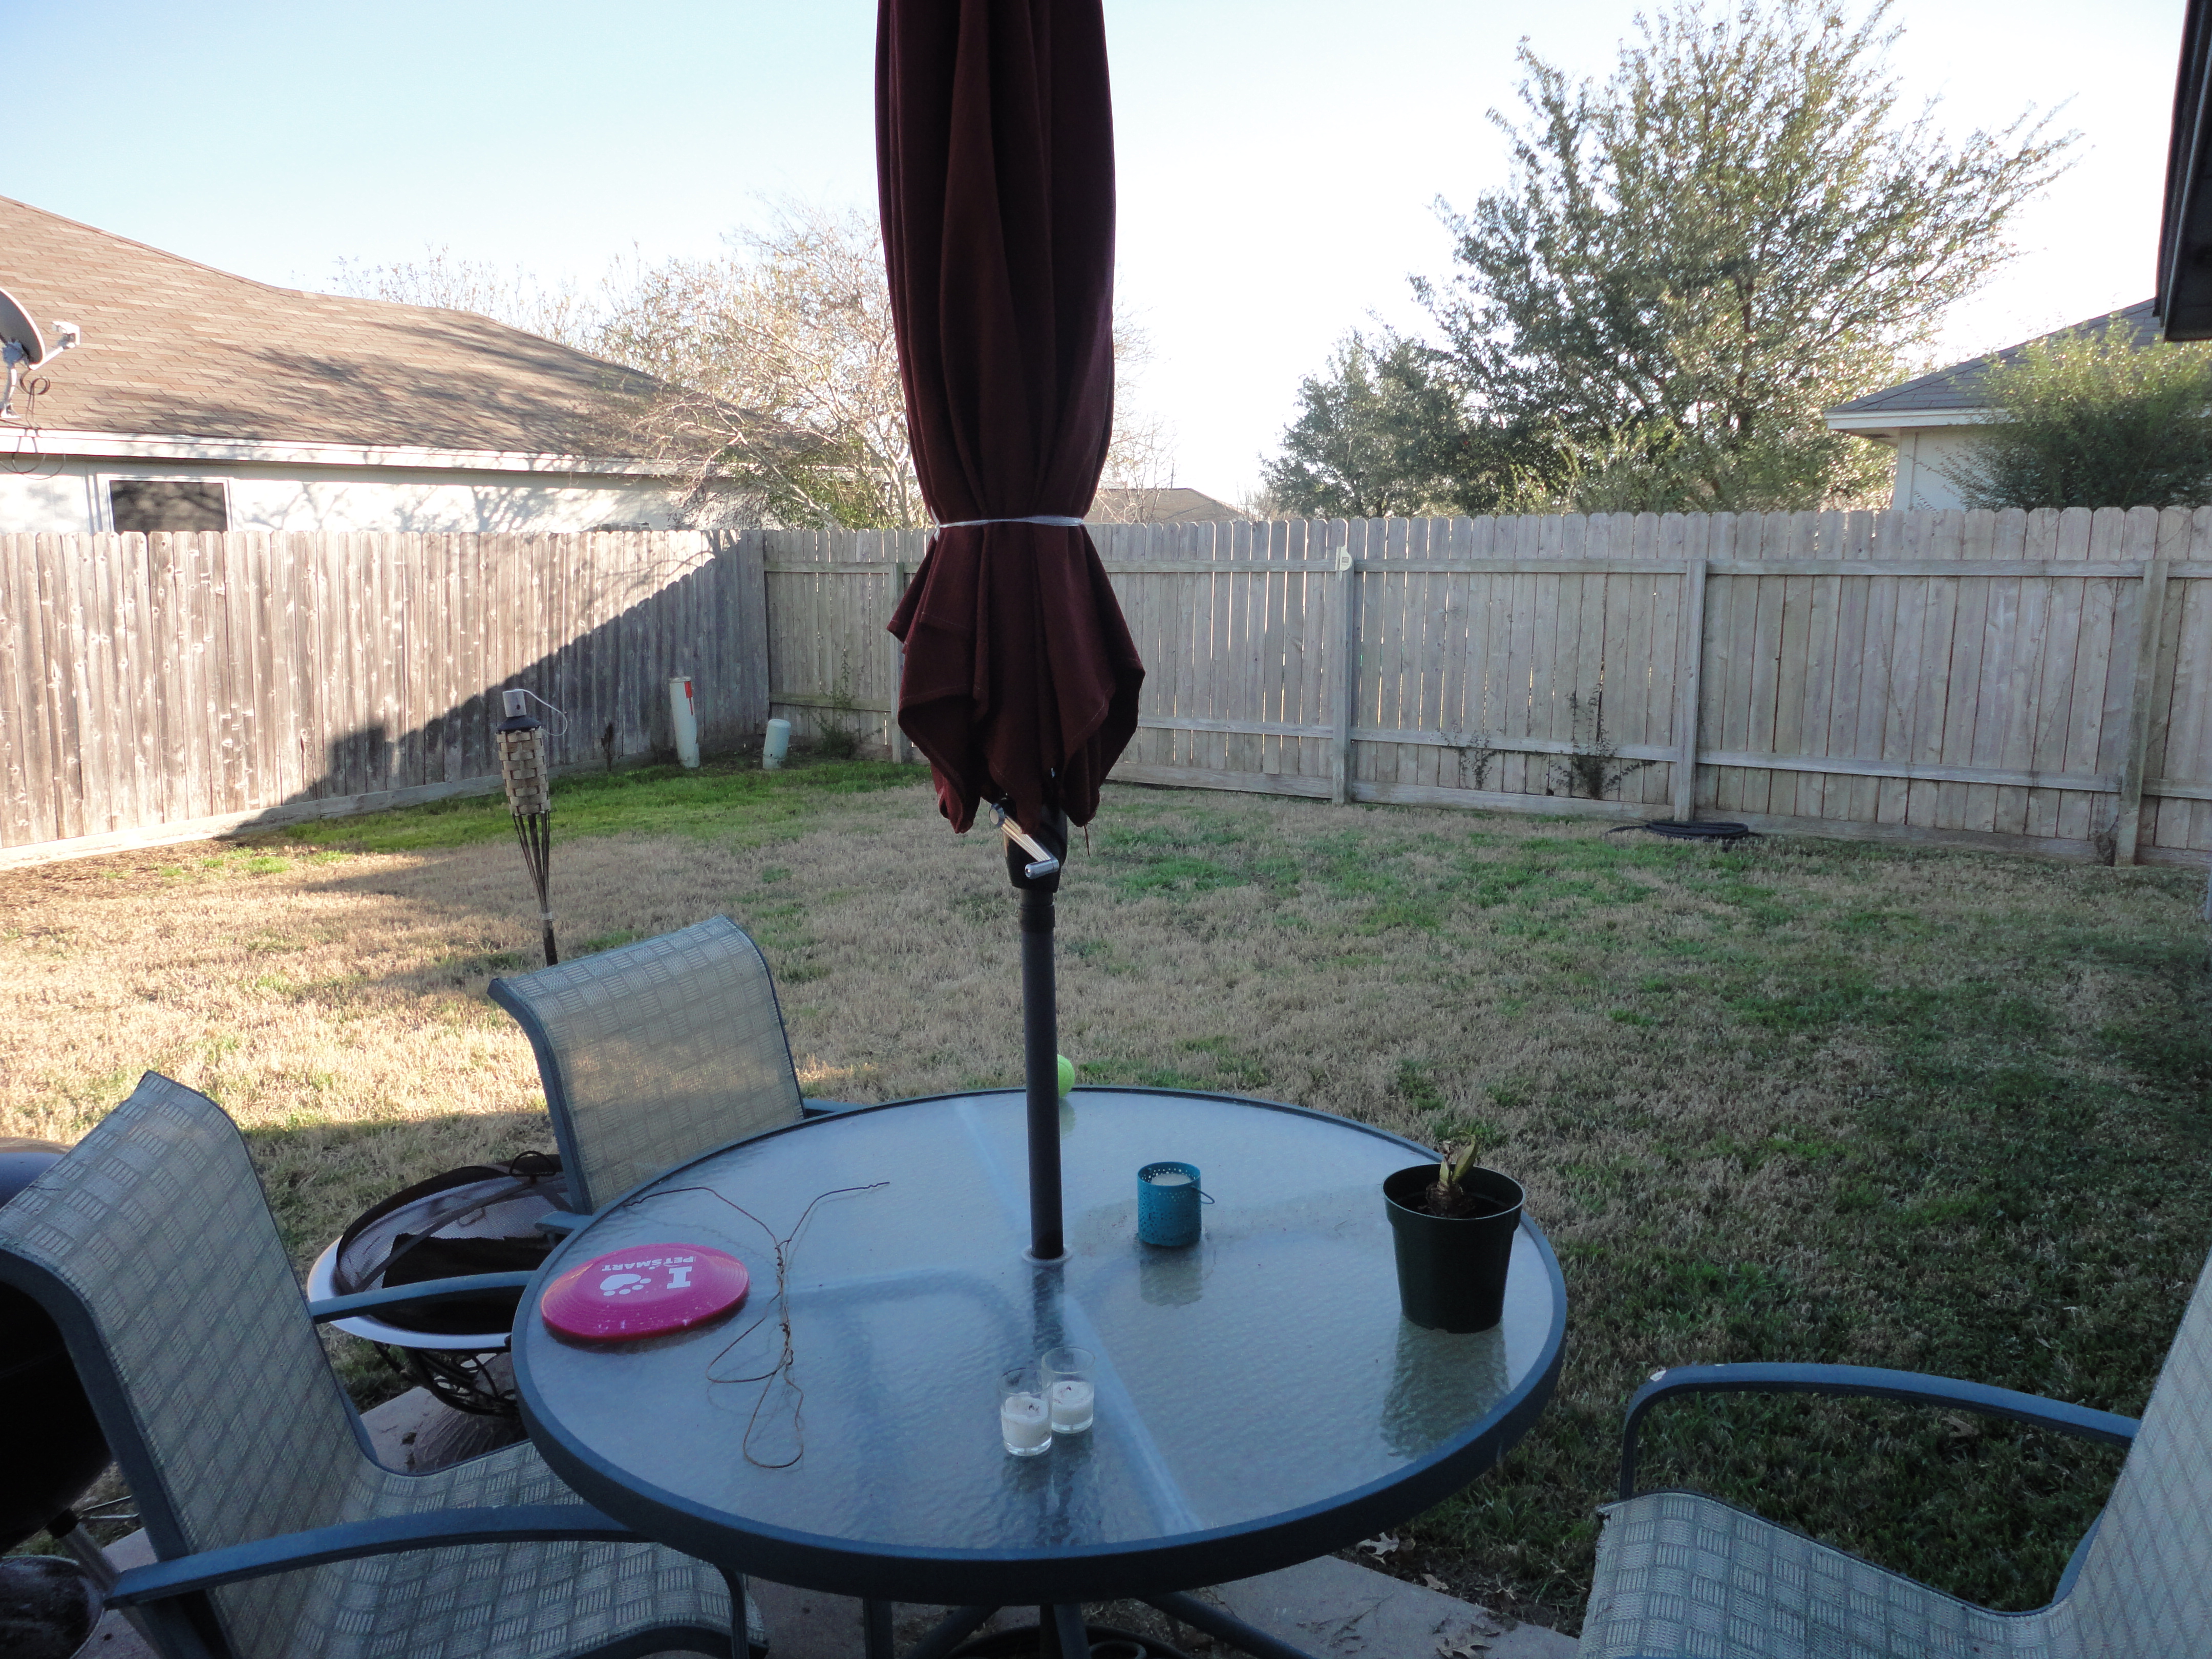
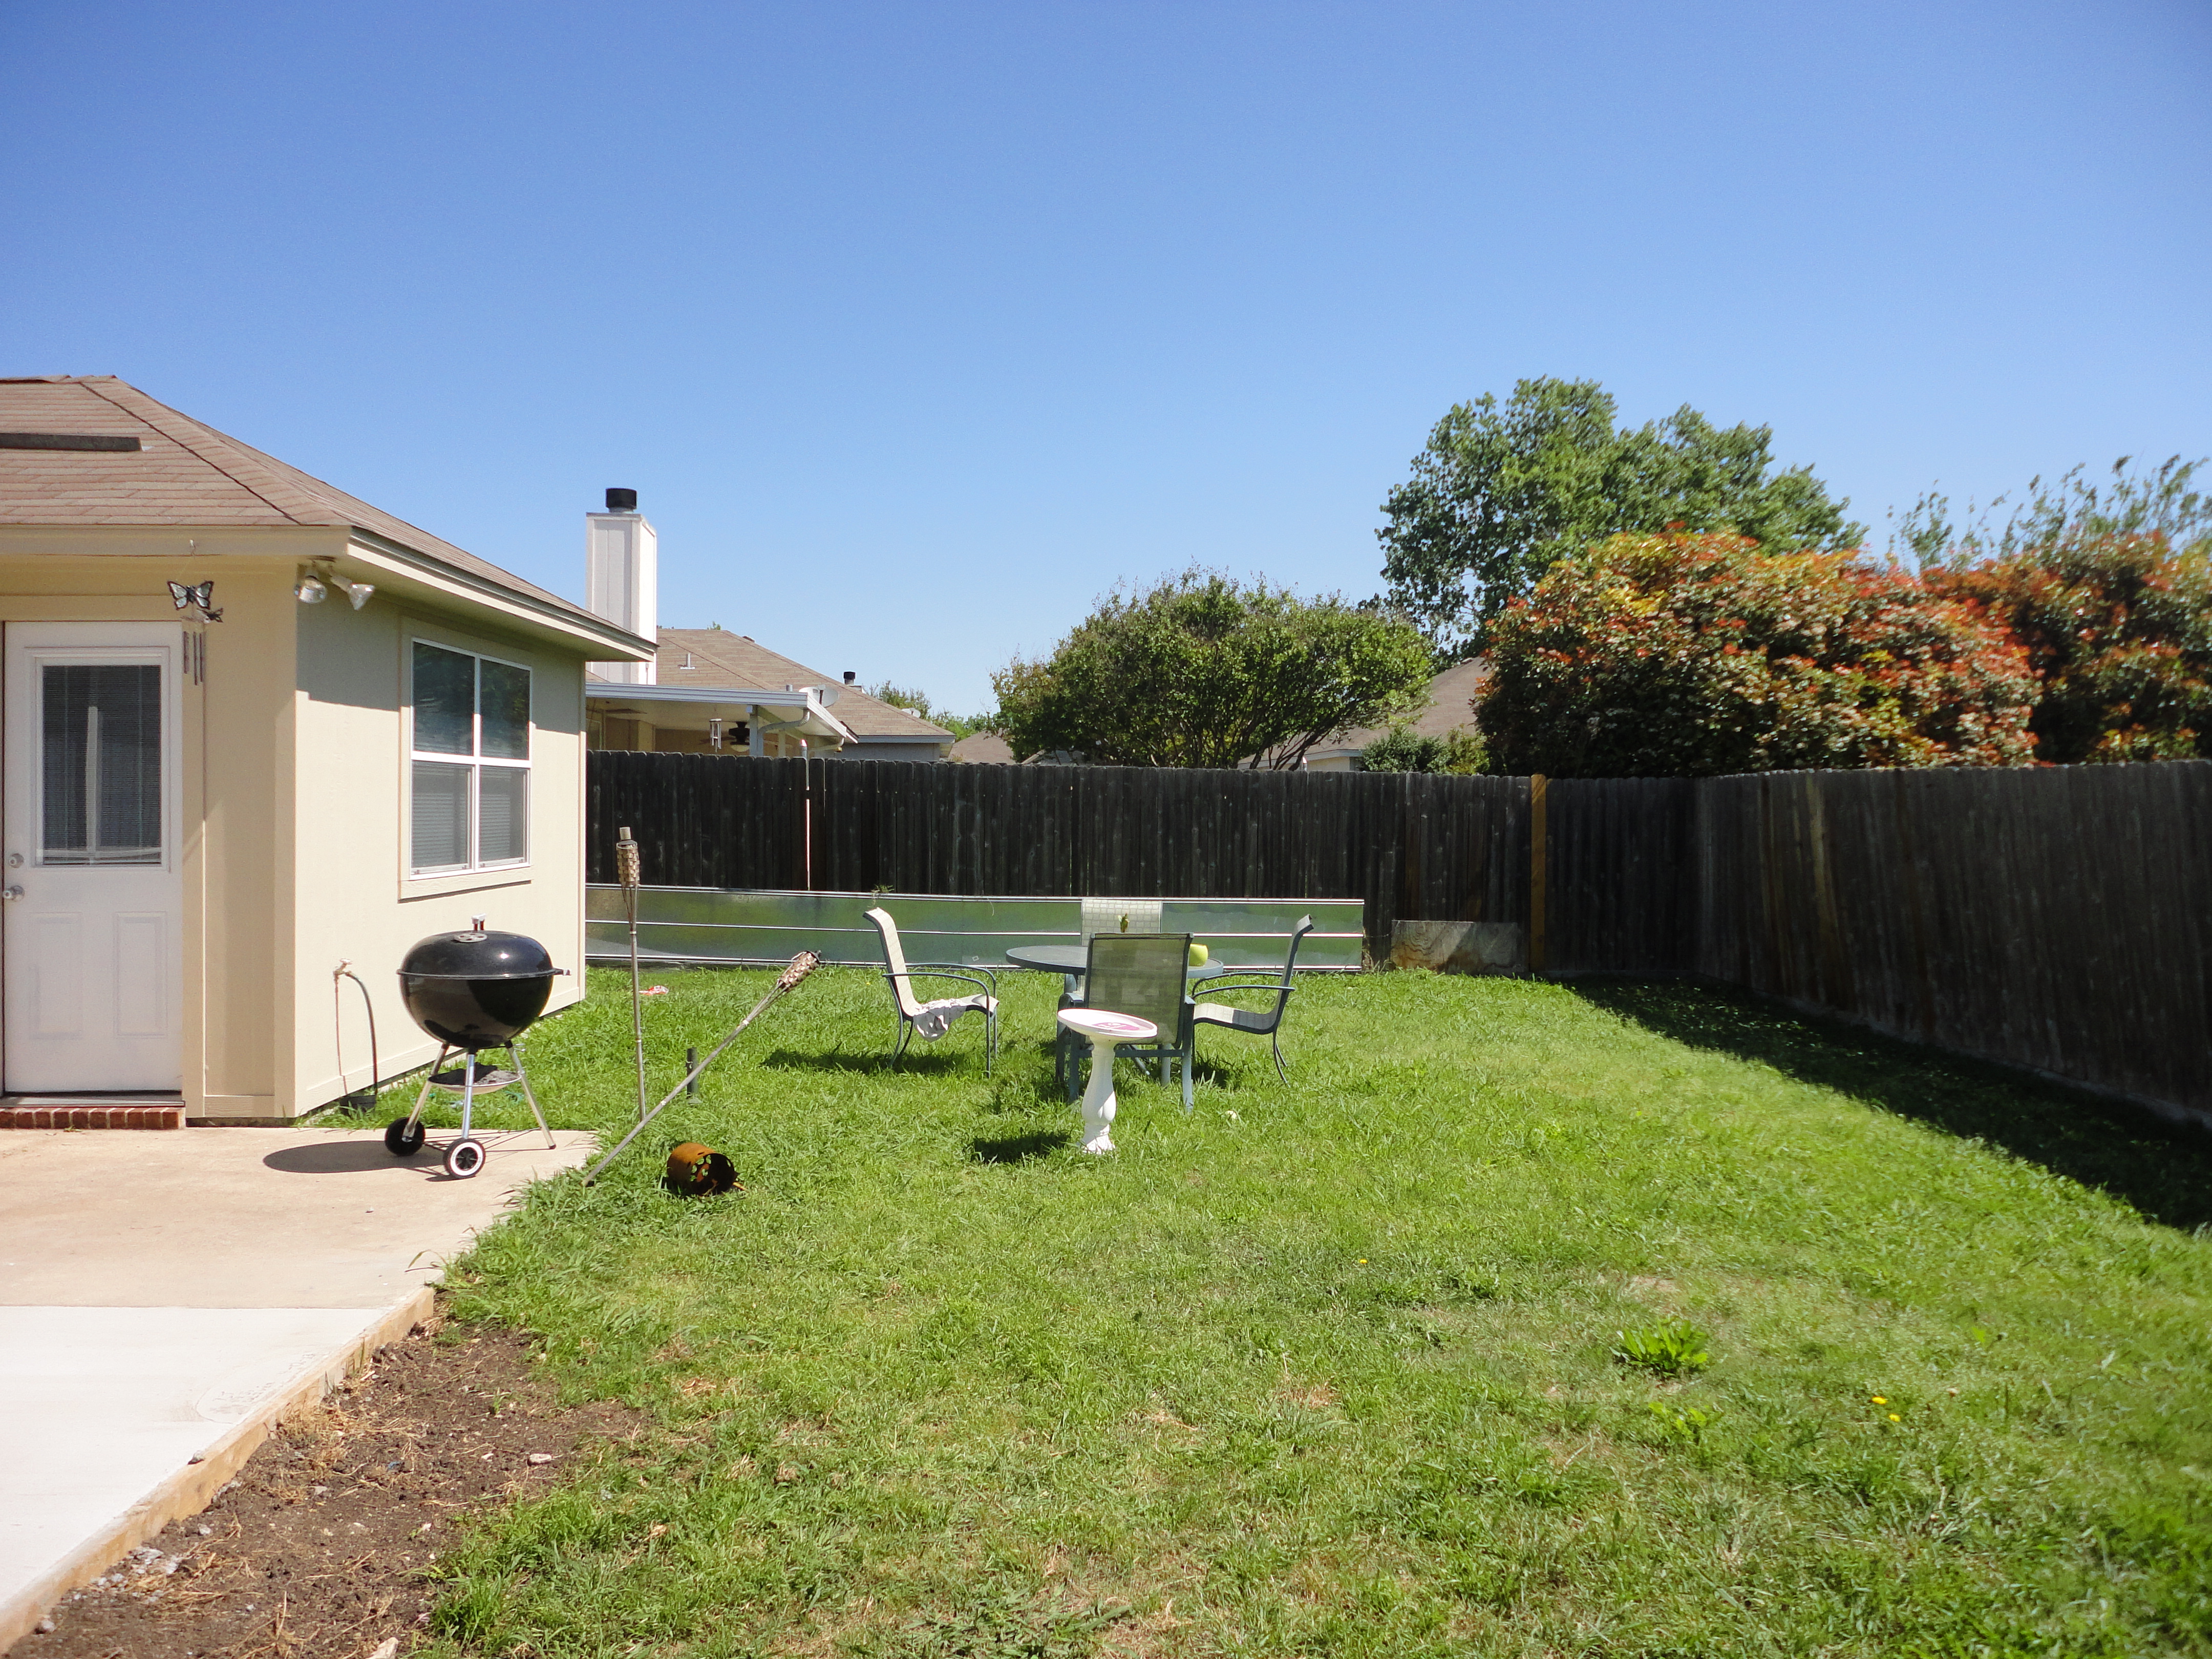
The new patio provided so much more space! I don’t have any pictures of them putting the cover on. But we chose to not have it extend all the way- we left an open area on the end for the grill and fire pit.
In mid-April we began tearing down our old fence on two sides, and replacing it. So much cheaper to do it ourselves (well, for my hubby and neighbor to do it…). This was a pretty extensive project.
 That random sheet of metal is one of the main reasons I wanted a new fence. What the heck were the previous owners thinking??
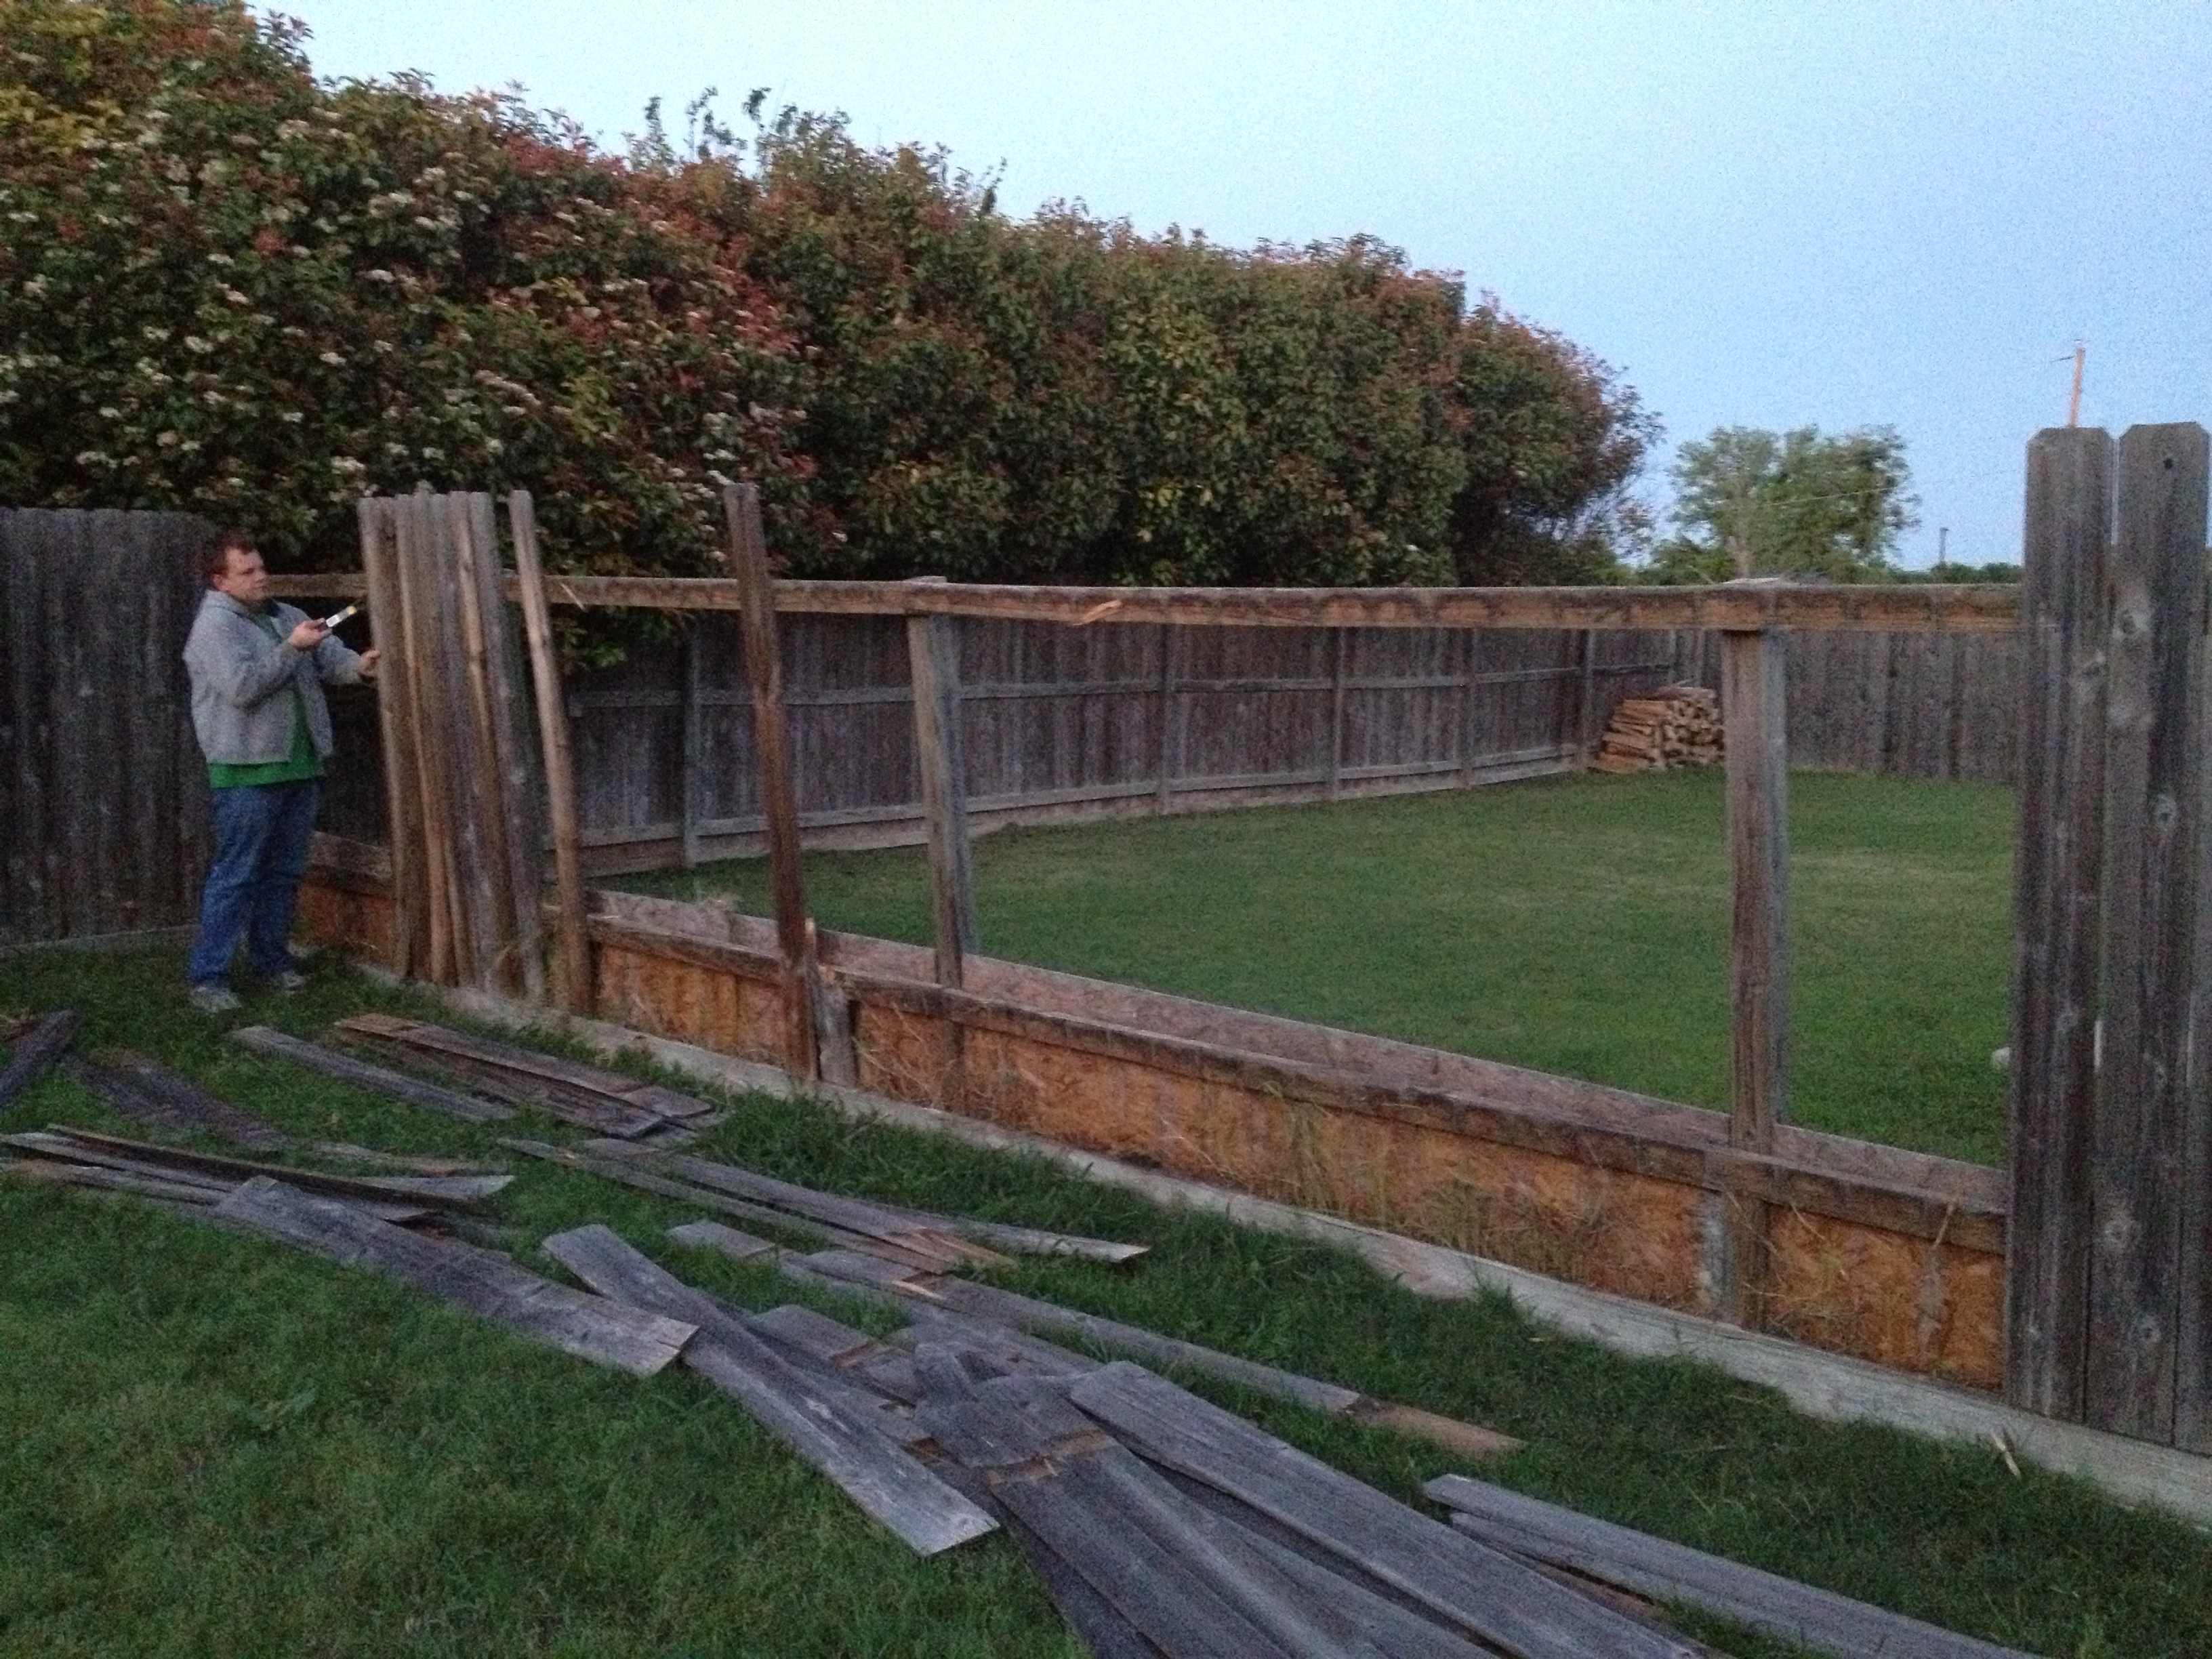
Beginning to tear the old fence down
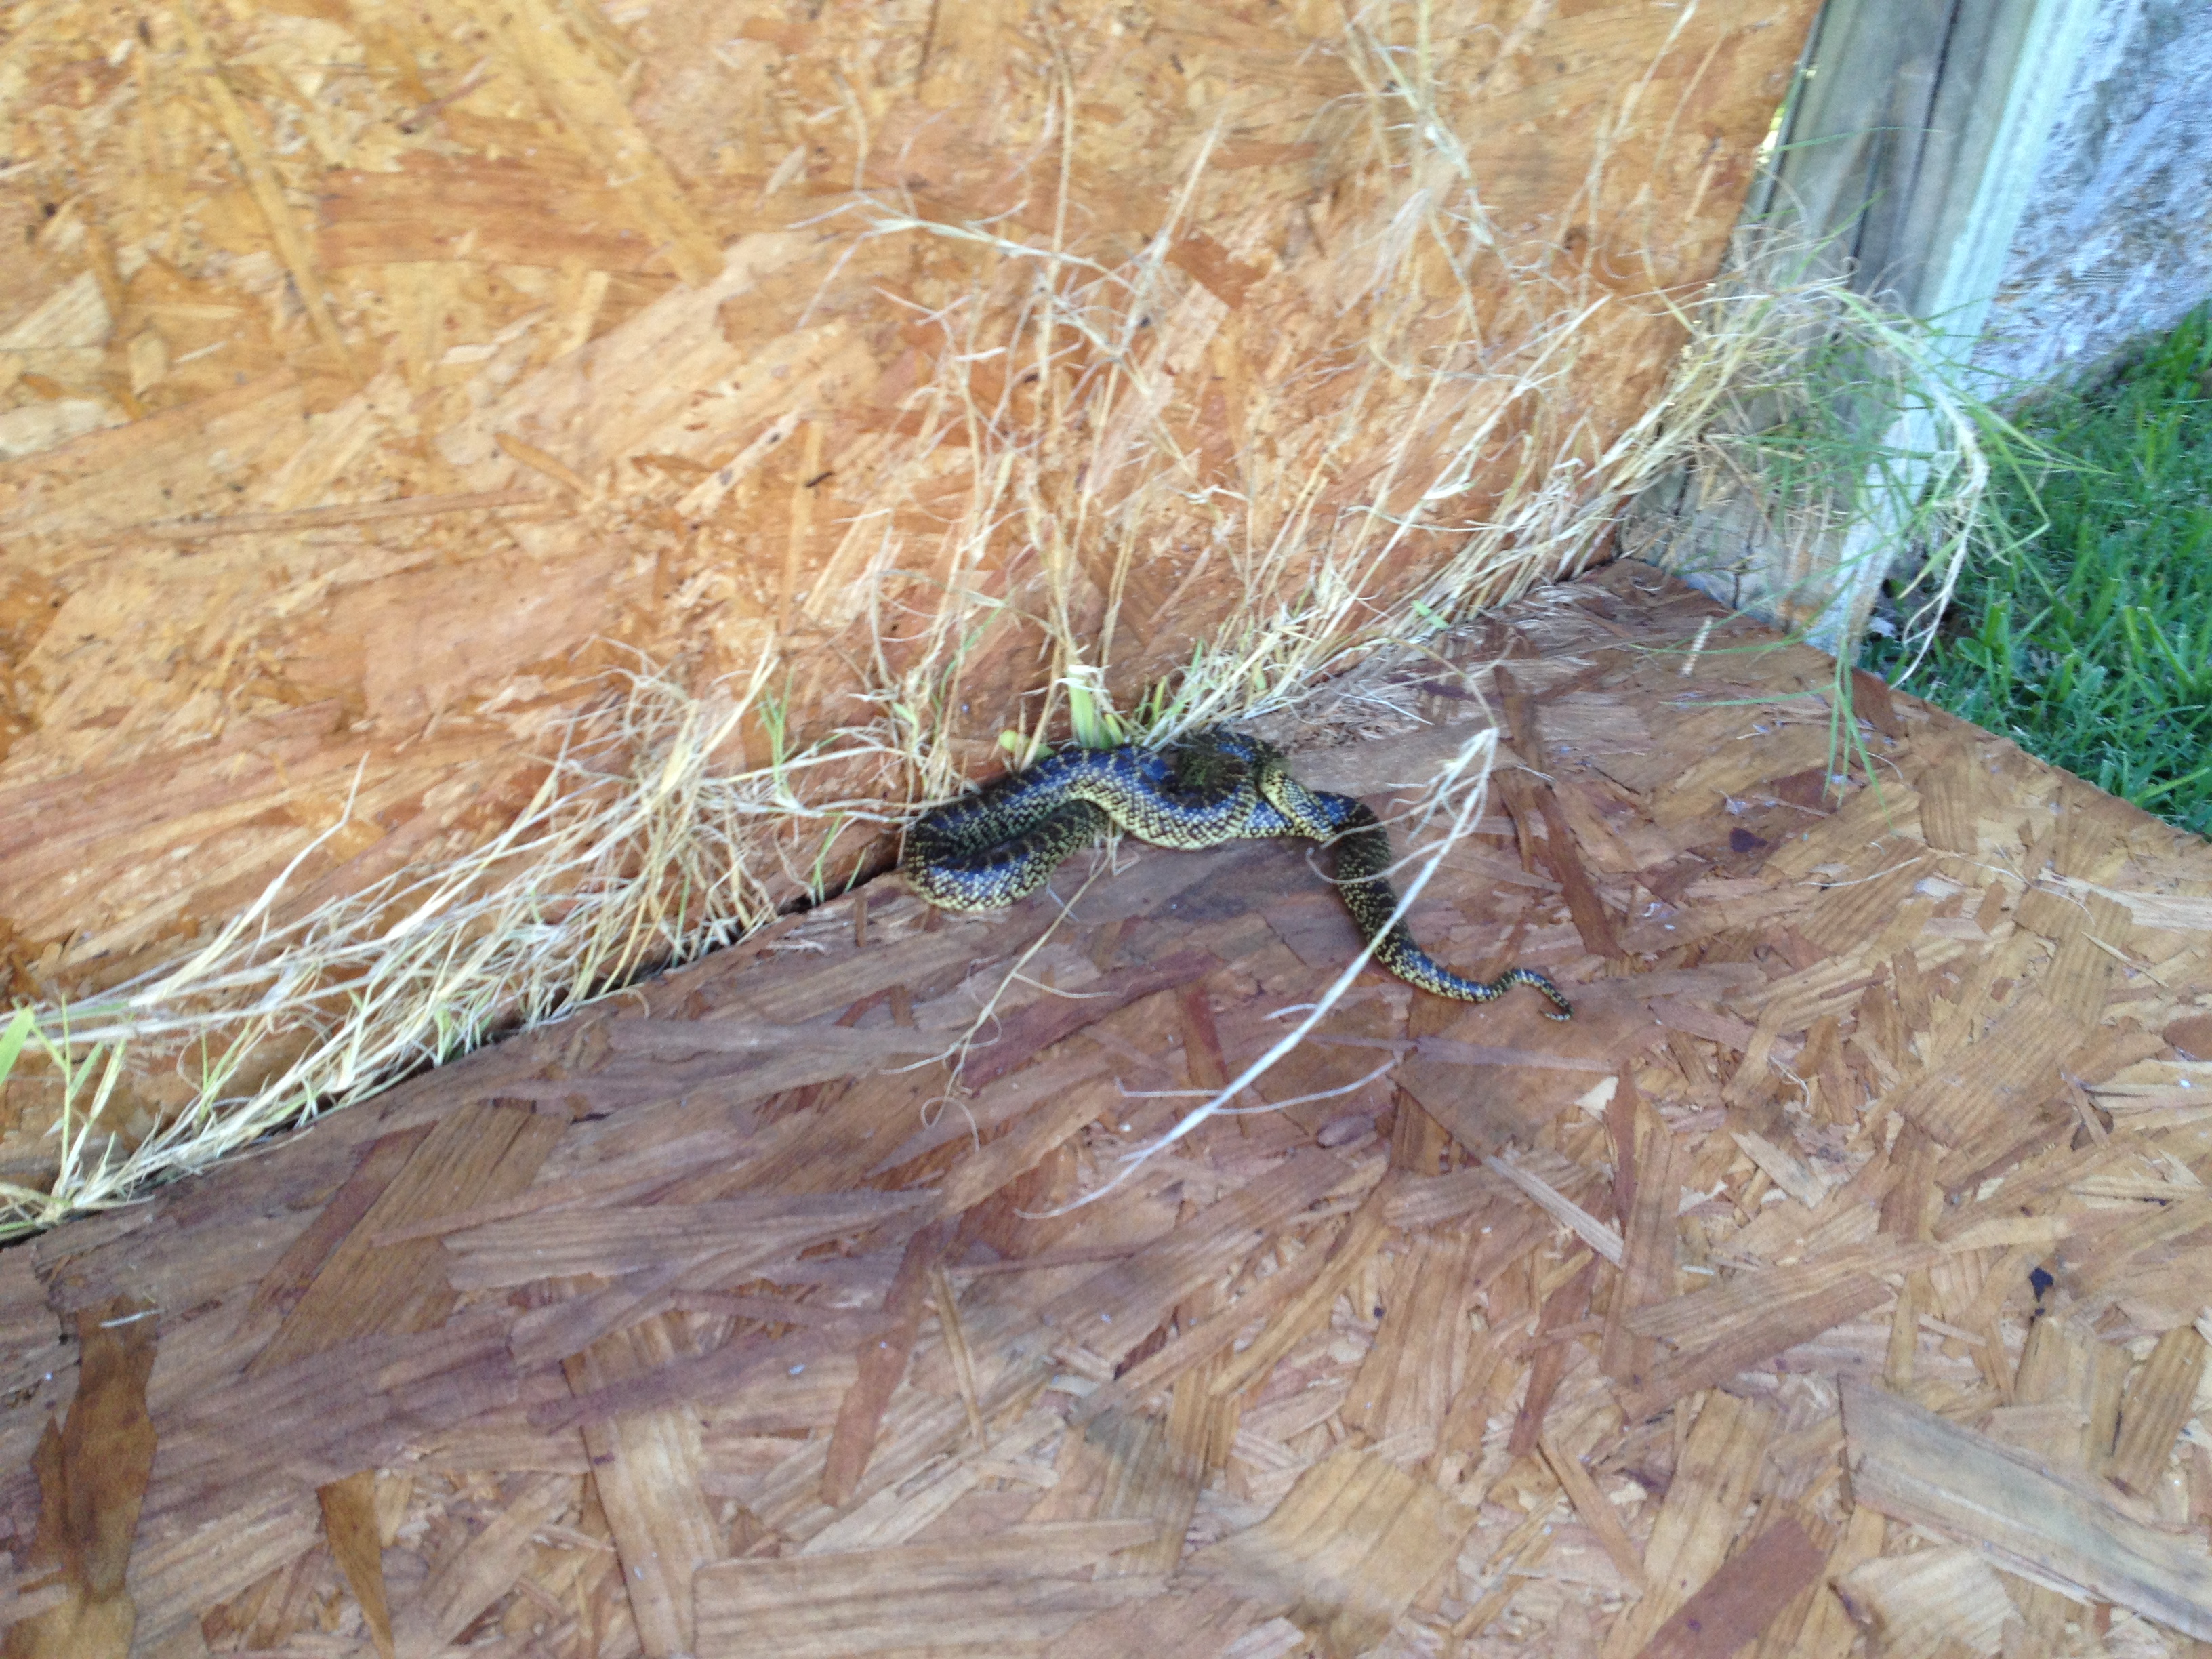
Found a snake in the fence!
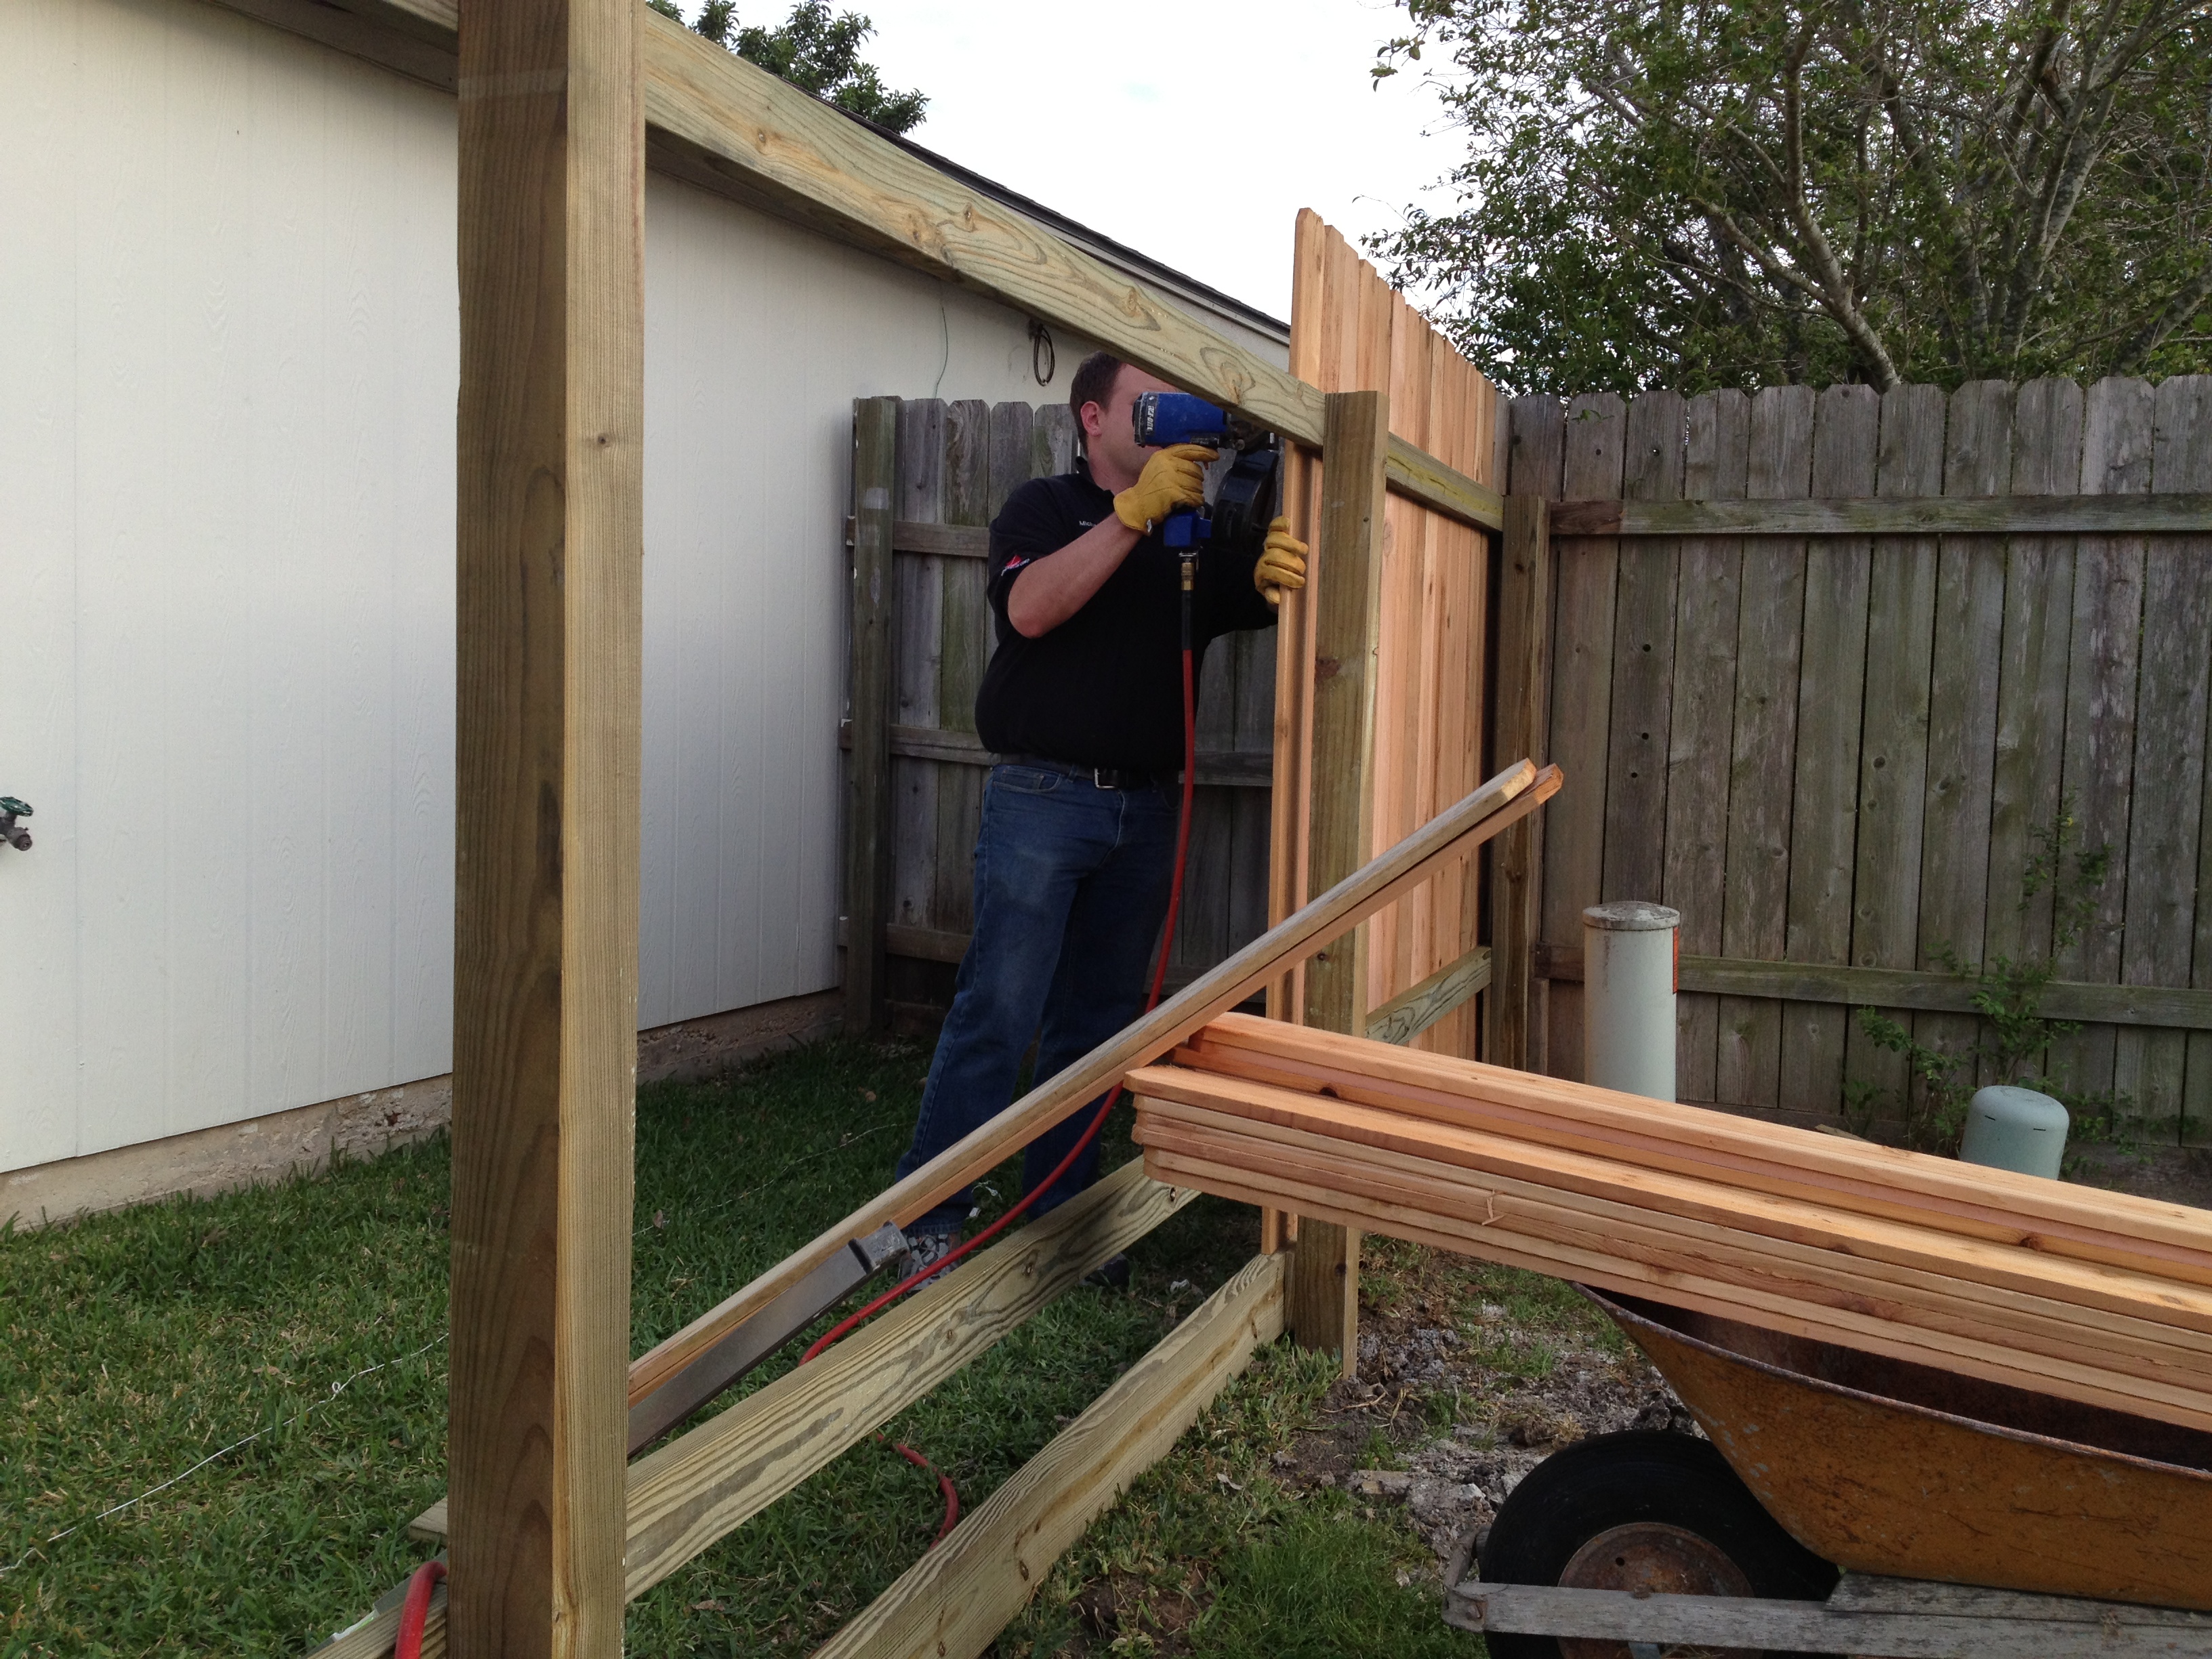
New fence going up!
With all that done, at the beginning of May we started the landscaping. That involved creating flower beds, picking flowers/plants, and planting!

Michael working on planting shrubs
It took a couple of months to get all the elements I wanted. We had pondered paying a landscape company to come in (and part of me regrets that we didn’t), but we chose to do it ourselves and I think it turned out pretty good! Once everything was done, it is a HUGE change from what we had before. We LOVE it.

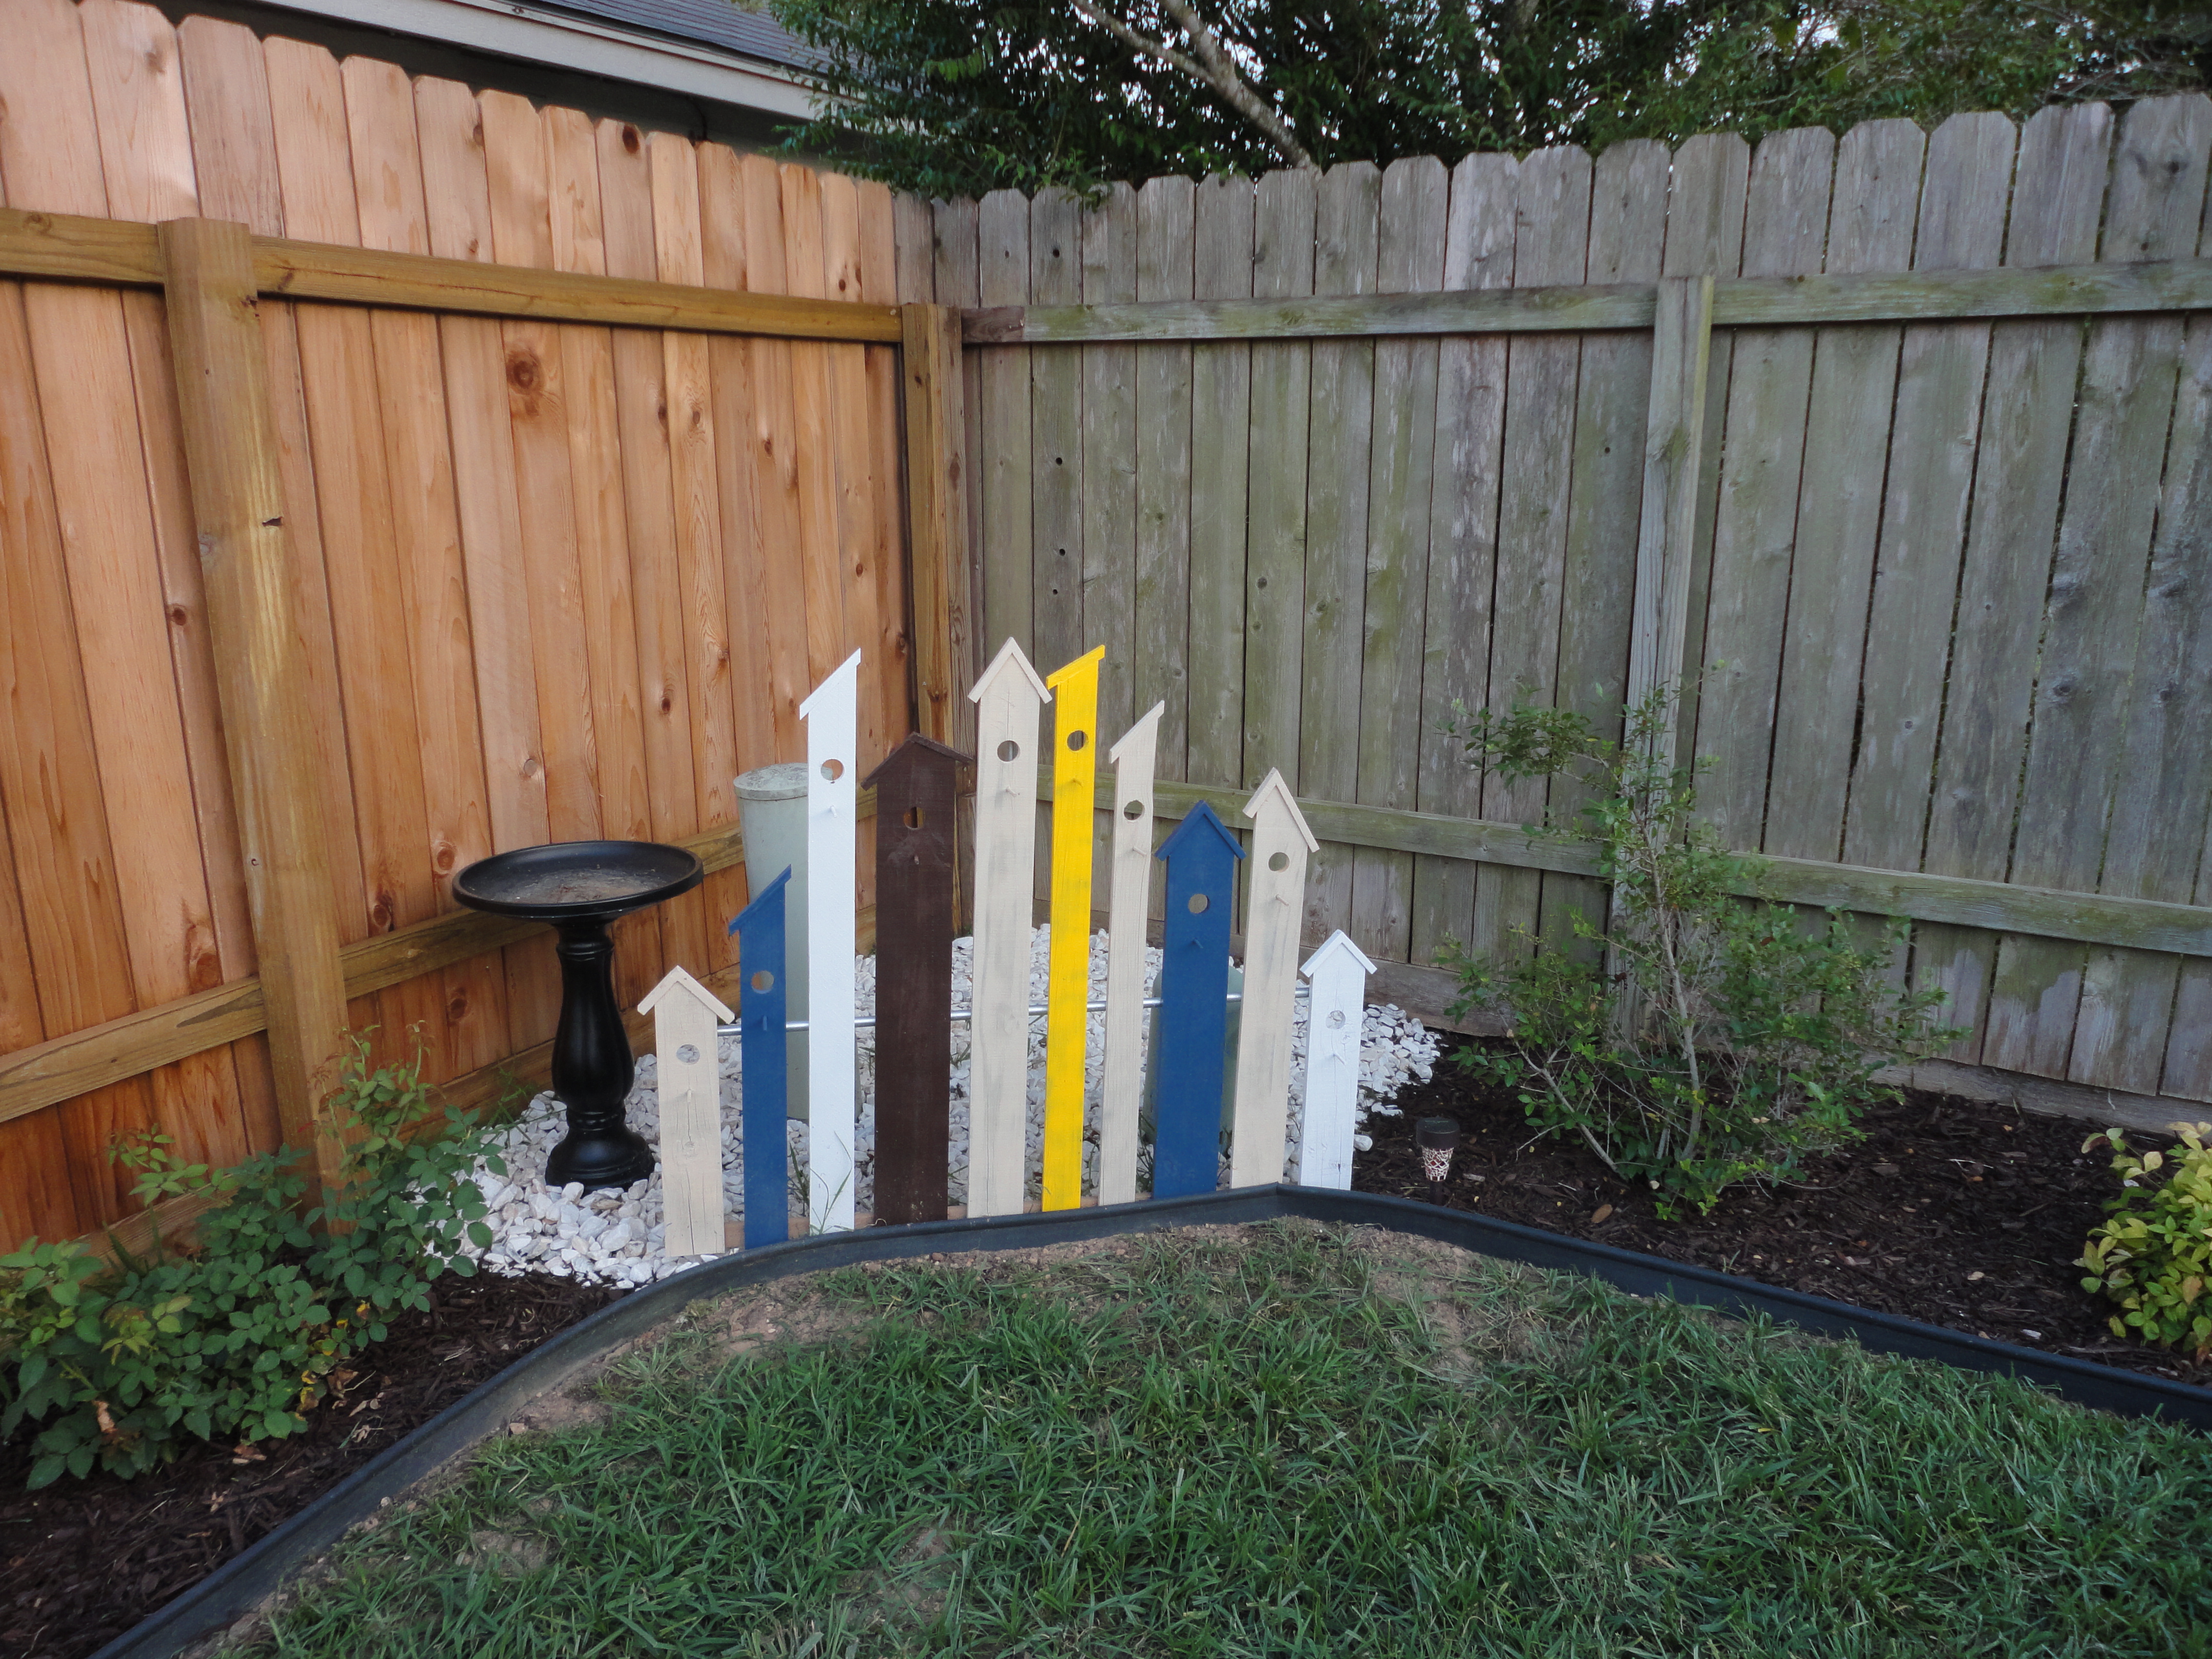
This was inspired by a pin on Pinterest. The hubs built it and I painted it. I love the fun splash of color it adds!

Coasters I made from Shiner bottle caps
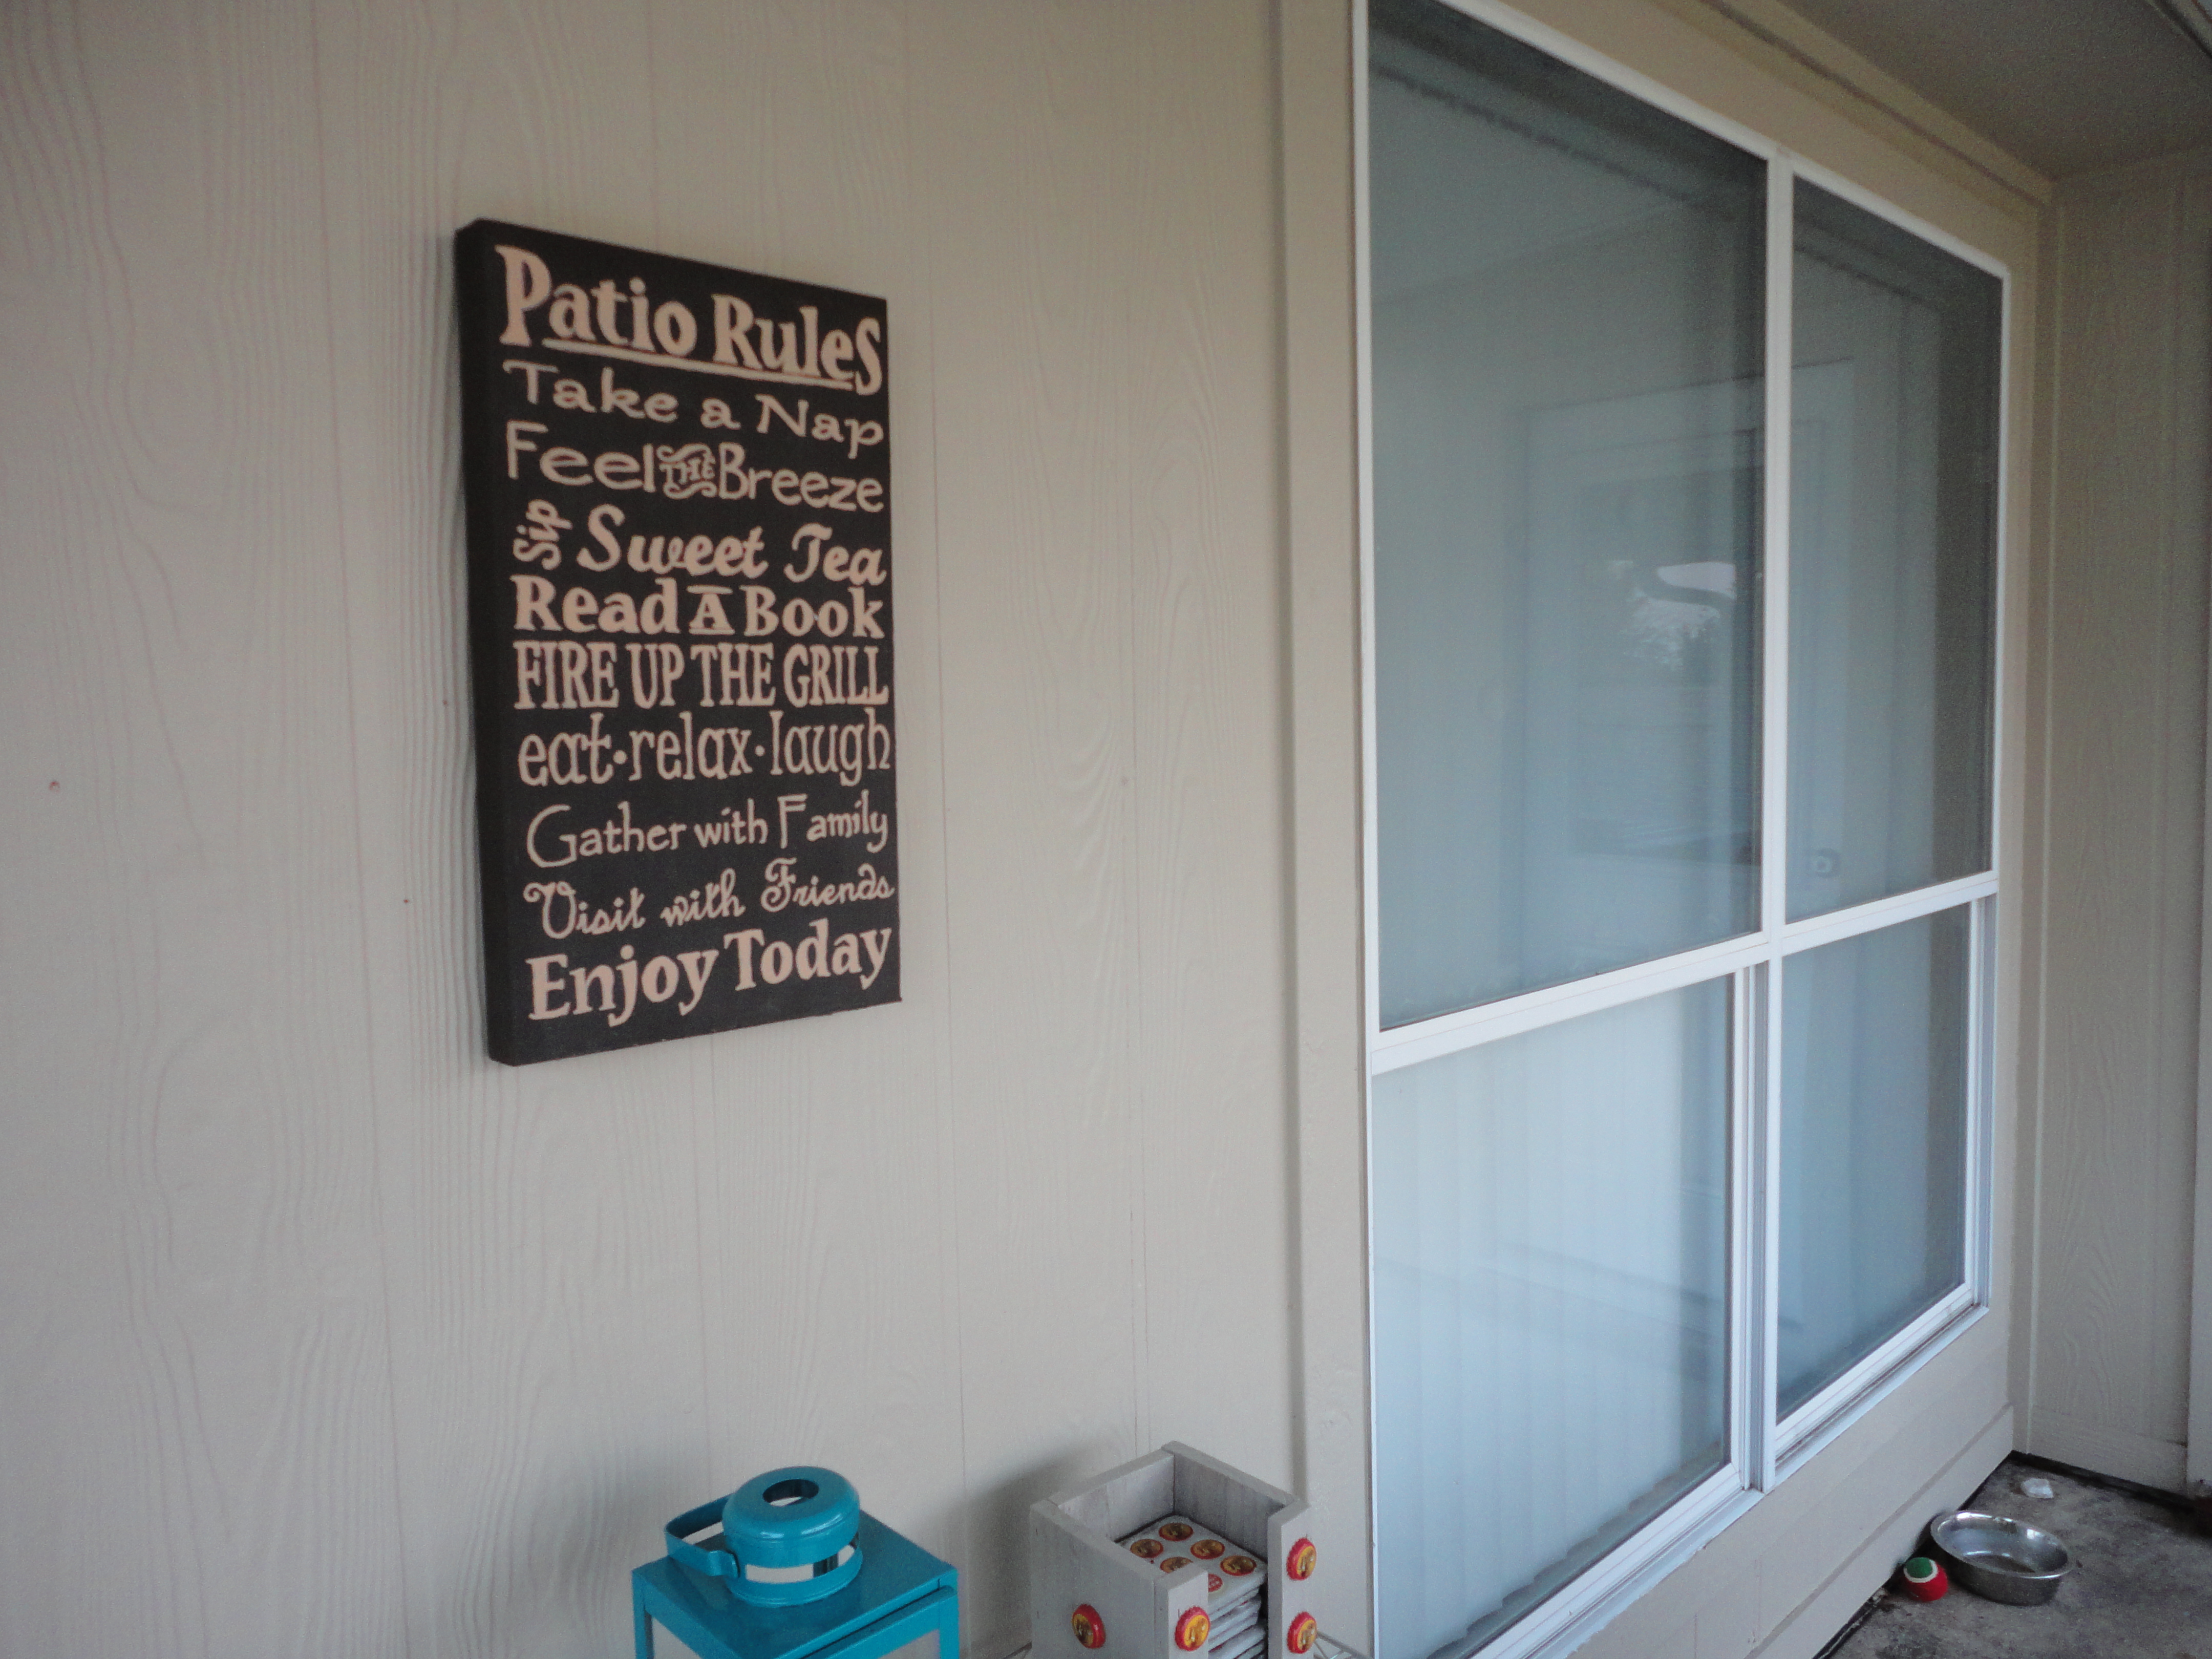
My friend Janie made this sign for me. Go check out her Etsy shop- More than Frills.

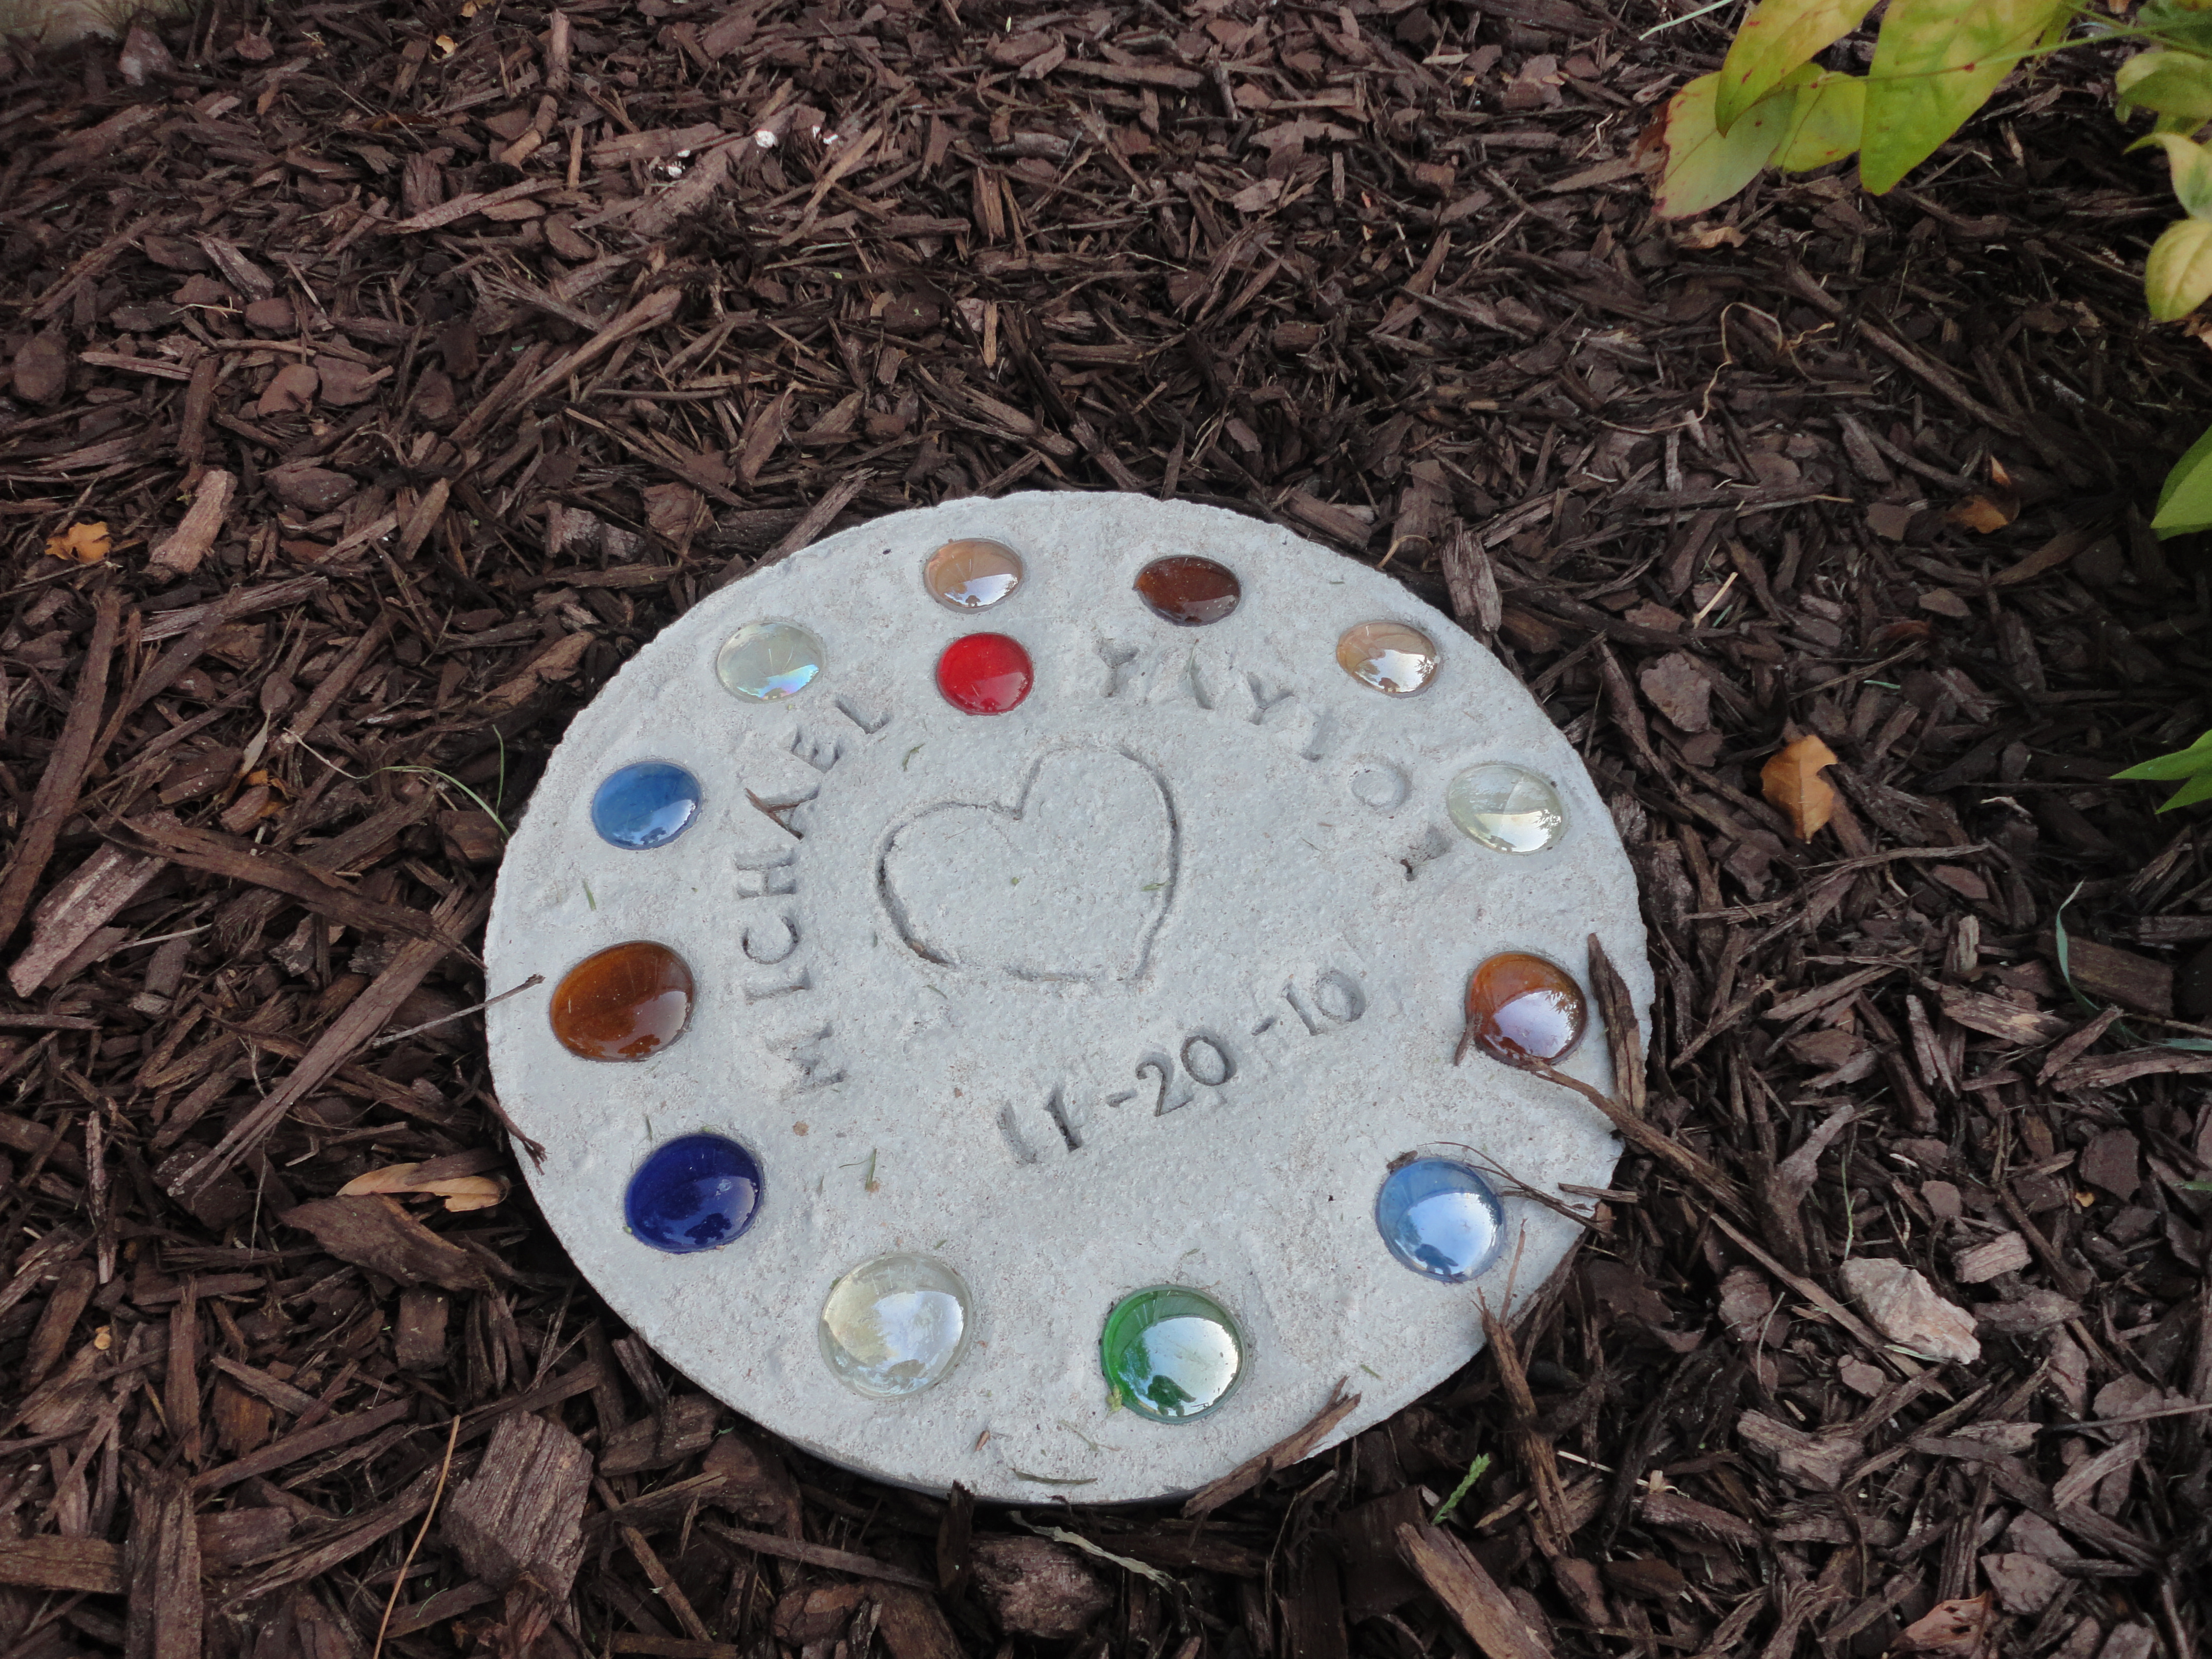 Love our stepping stones 🙂 (Though, it’s been a year and the tiles/stones are coming out of them… sad day)
So, thanks for coming on this (a year late) tour of our backyard!! We LOVE it and it shows that it’s possible to do a really great backyard makeover on a little budget!